Premiere Pro AV1: Does Premiere Pro Support to Import/Export AV1?
"I downloaded YouTube video in 8k. I import it in Premiere, but Premiere displays me error that AV1 codec can't be imported." - Adobe Community
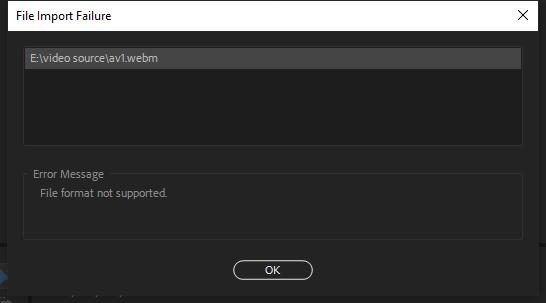
Premiere Pro recieved a highly anticipated update in October, which presents the best titling toolset and incorporates foundational work on stability and performance. But users are disappointed to find that AV1 encoding is still unavailable in Premiere Pro. That is to say, users would be noticed with "File format not supported" error when they're trying to import AV1 encoded videos to Premiere Pro.
But does this mean that Premiere Pro cannot handle AV1 videos? Not really. You know, Premiere Pro allows various plugins to enhance the video editing experience. Provided you have installed a plugin that allows you to import AV1 files, AV1 encoding are within reach in Premiere Pro. Just scroll down to find the details.
Table of Contents
Part 1. How to Encode AV1 in Premiere Pro with Plugins
It's widely known that Adobe Premiere Pro allows users to install plugins and extensions for further editing. Though Premiere Pro doesn't support AV1 encoding initially, fortunately, you still can add plugins to make AV1 encoding available. There are handful plugins built with AV1 encoding in the market, let's dive deep to the two of the best.
1. Autokroma Influx
Autokroma Influx is a media importer that allows you to import all kinds of audio/video files, including extensions, formats, containers, video and audio codecs directly and natively into Premiere Pro, Media Encoder , After Effects and Audition. In the release of Octomber 2021, Influx has added the support of AV1 codec, together with some other codecs like FFV1, .BIK Bink V1, H264 AVC, H264 HEVC, ProRes, GoPro, Vidvox Hap, and Canopus HQ.
How to Install Influx to Import AV1 Files to Premiere Pro?
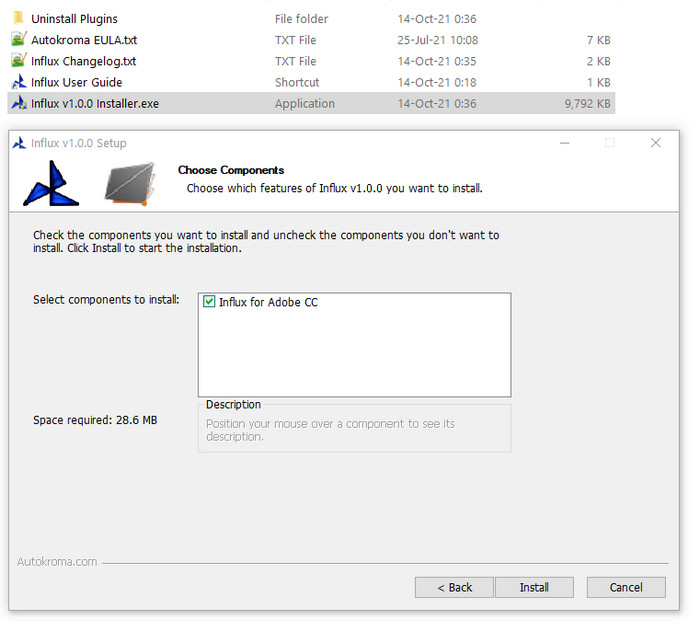
Step 1. Download Influx zip file on your Windows PC or Mac from its official download page. Take Windows PC as an example, extract and run the Installer .exe, which includes Influx free trial version.
Step 2. Then you need to edit our Config.toml file yourself manually and change what setting you would like to edit (change between true and false). On Windows this file is on C:\Users\[ Your User Name Here ]]\AppData\Roaming\Autokroma\Influx\
You can disable any setting by writing false instead of true.
- debugLogs = true: write debugging logs, it will be useful to send us those files for inspection and bug fixing.
- disable = false: enable completely importing files with Influx.
- overrideAdobe = true: force your Adobe application to use Influx even for files that are natively supported by Adobe.
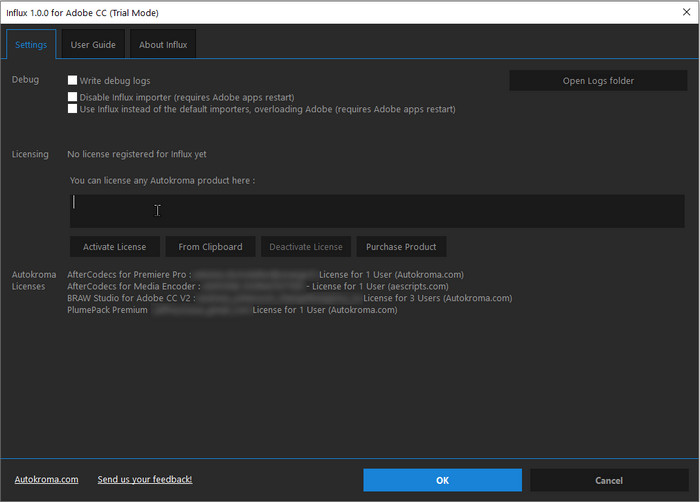
Step 3. Retrieve license if you've purchased it.
- Open up Premiere Pro, right click on a project item and click "Source Settings…".
- In the Settings tab you can paste the license.
- Click the Activate button. Then click OK and restart your Adobe app and you shouldn't be in Trial mode anymore.
- Please empty your Media Cache. Start Premiere without loading any project, go into Premiere Pro's Preferences -> Media Cache -> Delete button on top -> 2nd radio Delete all media cache files from the system.
Step 4. After restarting you should now have full decoding of your files. Drag and drop to import AV1 codec file to Premiere Pro and start your journey of video editing.
2. Voukoder
Voukoder is another free media encoding plugin for Adobe Premiere Pro and Adobe Media Encoder that allows AV1 codec. Voukoder plugin is completely an open source and can be downloaded free of charge from the Voukoder website. It doesn't use any specially developed encoders but builds on the long-established FFmpeg project and connects them directly to Adobe products via fast memory access.
For hardware accelerated AV1 encoding in Premiere Pro, Voukoder is reuqired to be used with Intel® Arc™ graphics.
How to Encode AV1 Codec Files in Premiere Pro with Voukoder?
Step 1. Get the free Voukoder plugin from Adobe Exchange, and install it. It's compatible with Premiere Pro 13.0 or higher in mac, win32, and win64.
Step 2. Open Premiere Pro and edit videos as usual.
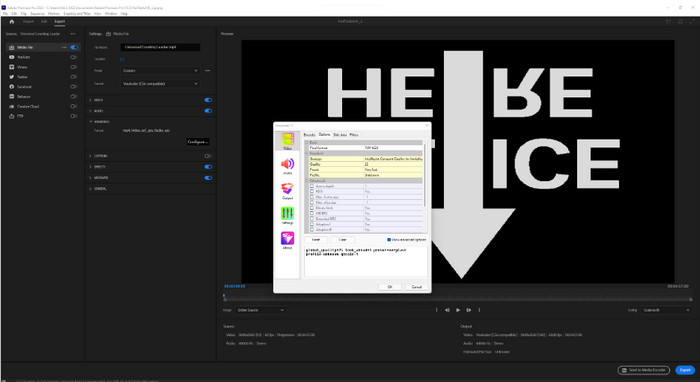
Step 3. Open the "Export Settings" dialog via the "File -> Export ->Media" menu or via the CTRL-M key combination. Finally, select the "Voukoder" format in the drop down box under "Export Settings".
Step 4. The "Voukoder" exporter offers a new "Voukoder" tab in addition to the Video and Audio tabs. There you will also find an additional "Configure ..." button. Click it to select the AV1 encoder. Of course you can save the settings as preset in Premiere Pro.
What you may be interested in: AV1 vs HEVC
Part 2. An Alternative Way to Decode and Encode AV1 Videos Easily
You see, adding plugins in Premiere Pro for AV1 encoding can be a little bit tricky. It's quite complicated for newbies, and there might be errors like nothing happen even if you've made the settings changes, or the graphics is not qualified for hardware accelerated AV1 encoding. Given that, you can choose an AV1 encoder to transcode AV1 files before editing in Premiere Pro.
Winxvideo AI could be a nice option. It enables users to decode AV1 video files in WebM or other formats to almost all the mainstream video codecs / formats like HEVC, H.264, MP4, AVI, MOV, WMV, MKV, etc. Moreover, with the support of hardware acceleration technology, The AV1 encoding speed can be accelerated to 47x real-time faster with still high quality reserved.
Better still, it's super easy, never requiring a learning curve. All can be done within simple steps. Let's check the details
How to Transcode AV1 Codec Videos with Winxvideo AI
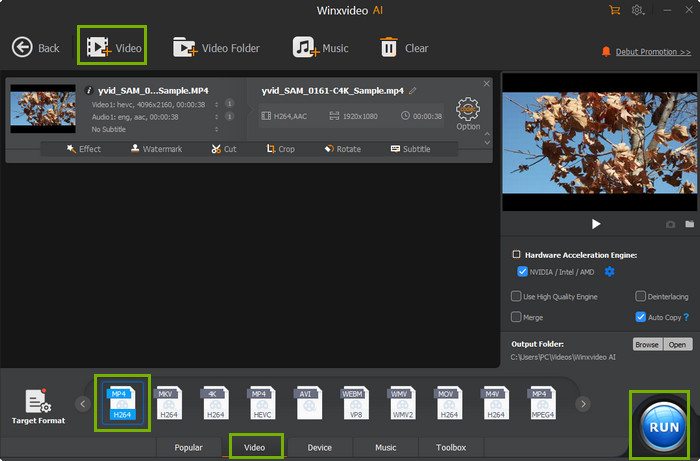
Step 1. Free download Winxvideo AI and launch it. Choose Video Converter on the main UI, then drag and drop to load the target AV1 video file(s). Batch conversion is also allowed.
Step 2. Choose an output format, such as MP4 Video of H.264 or HEVC codec. Or any other formats as you need.
Step 3. Make sure the hardware accelerator option is ticked on. Generally, it's ticked automatically if your computer is configured with qualified graphic cards.
Step 4. Click Browse to set a destination folder if necessary. Tap the RUN button to start transcoding AV1 files. It'll be finished in a very short time.
To the Conclusion
Though Premiere Pro doesn't support AV1 encoding natively, you can add plugins to encode AV1 files in Premiere Pro. Of course, the process could be convoluted and complicated. If you don't want to experience this tough process, you can transcode AV1 files with Winxvideo AI to Premiere Pro supported file format in advance before importing it to Premiere Pro.