


Top Live Stream Recorders to Capture Live Streaming Videos on PC/Mac
 Mike Rule
Updated on
Whether you're a content creator aiming to wow your fans with your talents, a gamer showcasing your skills, or a movie enthusiast prone to watch live streaming offline, the ability to record live streams has never been more crucial.
In this guide, we delve into the world of live stream recorders, exploring the top tools available to help you capture those unforgettable moments. From the open-source live streaming recorder apps to the professional screen recorders, we'll uncover a range of options that cater to various needs and skill levels.
1. Top Live Stream Recorder – Winxvideo AI
Winxvideo AI makes live streaming video recording simple and painless. Without recording time limit, you can use this top live stream recorder to capture streaming videos from YouTube, Facebook, Netflix, Amazon Prime or any other streaming services at any duration and resolution you want (720p, 1080p or 4K 2160p). Moreover, you can discern how to use it for live stream recording via its self-explanatory interface without spending time on user guide post or video.
As for the editing tools you might need during recording, it covers all, be it draw, trim, split, rotate, speed up, make GIF from recording, Chroma key to turn green background into virtual background, etc. And it supports you exporting live streaming recording file as MP4, MOV, MKV, FLV, TS, etc. couples of formats for better compatibility.
 Free Download
 Free Download
Winxvideo AI is for PC, while Macxvideo AI (from our MacXDVD brand) is for macOS.
- Easy to use, no watermark, no recording time limits.
- Support a wide range of output format, from MP4 MKV to FLV TS.
- Record live stream video on Windows/Mac, record screen, webcam and both with audio.
- Editing features are basic.
How to Record Screen Live Stream on Windows 10/Mac with Winxvideo AI?
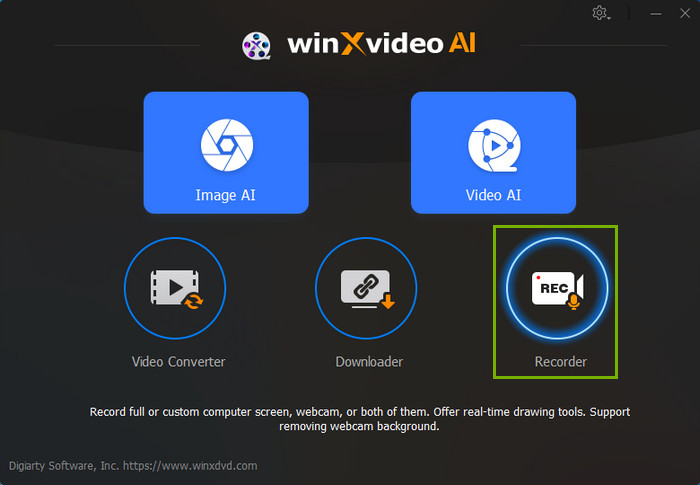
Step 1. Launch Winxvideo AI after installation and select Recorder on the main interface.
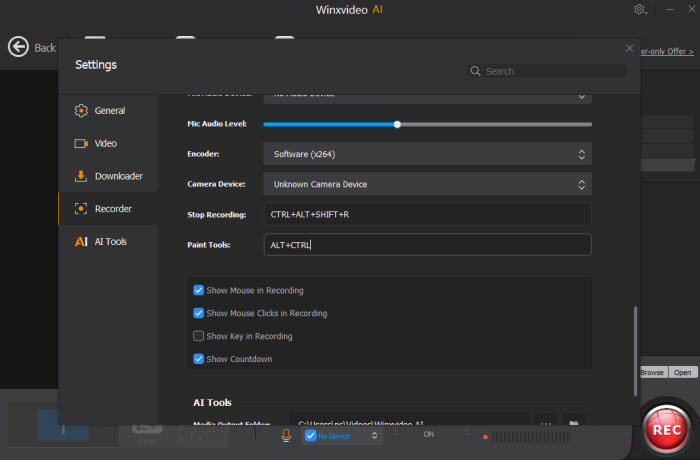
Note: tap the Setting icon on the top right corner of the UI and choose Recorder to adjust settings if needed. You're allowed to change recording quality, format, audio level/device, and know the shortcut for drawing (Ctrl+Alt).
Step 2. Select a recording mode on the top. Tap "Screen" here.
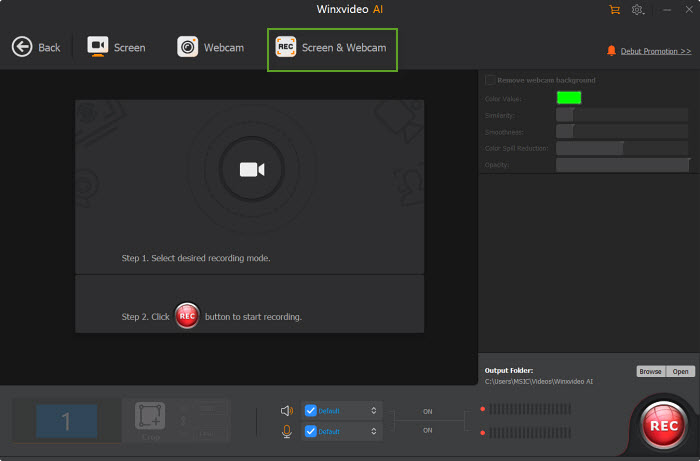
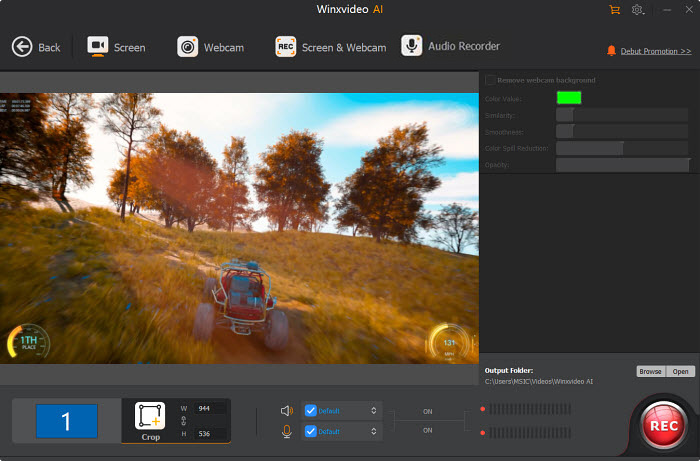
Step 3. Choose to record the entire screen or part of the screen at the lower-left corner.
Step 4. Enable audio device(s).
Step 5. Click on the REC button to start recording a live stream from Facebook, YouTube or Instagram, etc. on your Windows 10/11 or Mac. When everything is OK, click on the Stop button to end.
2. OBS Studio
OBS Studio is a second-to-none live stream recorder available for Windows 10/11, macOS and Linux operating system. As a free open-source streaming capture software, it lets you free record a live stream video from Facebook, YouTube, Netflix, etc. without watermark.
Another big draw is that it provides you with a wide selection of customization options, including recording quality, format (from MP4 MOV to MKV M3U8), frame rate, downscale filter, hotkeys for start/pause/stop/split recording, add filters, rotate/flip recording, Chroma key, etc. Certainly, those beauties might be opposite to the newbie who needs more time learning its product operation.
- Free open source, available for Windows PC, macOS and Linux.
- An expansive library of customization settings.
- Record screen live streaming videos, webcam and webcam video with virtual background.
- The interface simplicity leaves much to be desired.
- Complicated to beginners.
- Can't capture streaming video at 60FPS.
How to Free Record a Live Stream Video with OBS Studio
Step 1. Download and Install the top free live stream recorder software on your desktop or laptop.
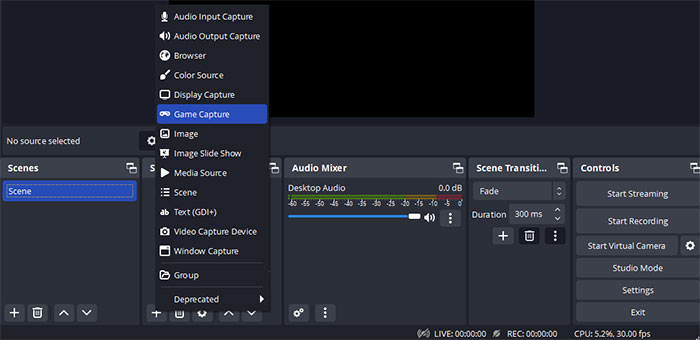
Step 2. Open OBS Studio > hit the "+" icon under the "Scenes" section to create a new scene > tap on the "+" icon under the "Sources" section to add sources such as display capture (for the live stream video) and audio inputs (microphone, system audio).
Step 3. Click on "Settings" to configure settings (if needed) in the bottom-right corner. In the "Output" tab, select your desired recording format (e.g., MP4) and quality settings. In the "Audio" tab, configure your audio inputs and outputs.
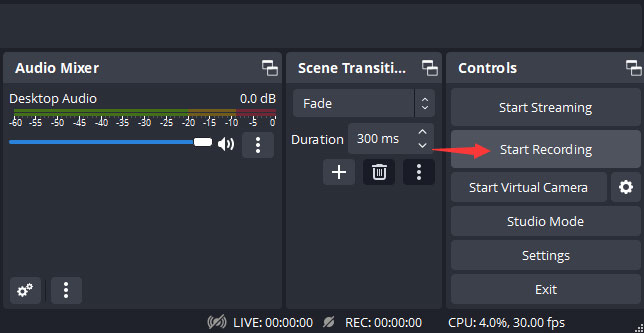
Step 4. Start recording live streaming video on Windows or Mac. Click the "Start Recording" button at the bottom-right corner of OBS to start to screencast your live stream. When you're done, click the "Stop Recording" button.
By default, OBS will save your recordings in the "Videos" folder on your computer. You can change the output path in the OBS settings.
3. Bandicam
Bandicam is a light-weight and Windows only screen recorder software, enabling you 100% free to screen record a live stream video from Facebook/YouTube, record 2D/3D games at 4K up to 480FPS, and record external videos from webcam, Xbox/PS4, smartphone, etc.
This free live stream recorder also grants you opportunity to draw on your recording in real-time to highlight specific areas or add annotations. Notwithstanding this free live stream capture tool doesn't support so many output formats as the above 2 recorders, it offers you with the widely used formats MP4 and AVI. There is no issue for your streaming recording playback or sharing in terms of video compatibility.
- 100% free to use and simple enough for the green hand.
- 3 kinds of recording modes, supporting up to 4K 480FPS for game recording.
- Real-time drawing while recording.
- No Mac version currently.
- Only MP4 and AVI two output formats.
- Unable to change recording green background to virtual background.
How to Free Download Streaming Video up to 4K using Bandicam
Step 1. Step 1. Visit the Bandicam website, download and install the software.
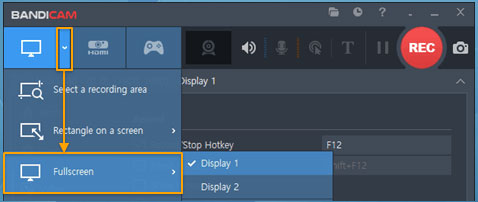
Step 2. Select live streaming video recording area.
Open Bandicam > click on the rectangle icon to choose the area you want to record. You can select the entire screen or a specific application/window.
Step 3. Optionally, configure settings. If you want the default settings, just skip this step and jump to the Step 4.
Click on the settings icon to adjust recording settings, including format, codec, quality settings, recording system audio or microphone input sound.

Step 4. Start recording the live stream video on your screen Windows. Hit the "Record" button to start recording screen streaming video on Windows 10/11. You can pause and resume recording using the on-screen controls.
Step 5. Click the "Stop" button to end the recording. Bandicam will prompt you to save the recorded video file. Choose a location and file name.
Your recorded videos will be saved in the location you specified. By default, they're saved in the "Bandicam" folder in your "Documents" directory.
4. Snagit
Snagit is more focused on capturing screenshots and short videos, making it handy for creating tutorials, demonstrations, presentations, quick demos, and instructional videos. Certainly, it works like a charm when using it to capture live streaming video from your Windows 10/11 or Mac, as well.
After your live streaming video recording, this top free live stream recorder is also able to help you add annotations, arrows, text, callouts, visual effects, filters and trim features. Thus, you can further customize your Facebook live stream recording file with compelling effects.
- Video recording, screen capture and scrolling capture.
- A wide range of annotation tools, markup tools, effects and filters to polish your Facebook YouTube live stream recording clips.
- Record a live streaming video on both Windows PC and macOS.
- Compared to some other basic screen capture tools, Snagit's price might be considered relatively high.
- Advanced editing features are still in its infancy.
- Unable to change recording green background to virtual background.
How to Record a Live Stream Video using Snagit
Step 1. Step 1. Free download, install and launch Snagit on your Windows 10/11 or Mac.
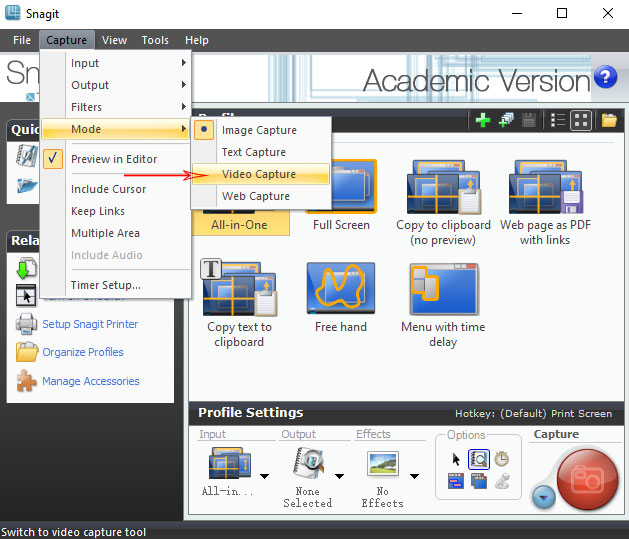
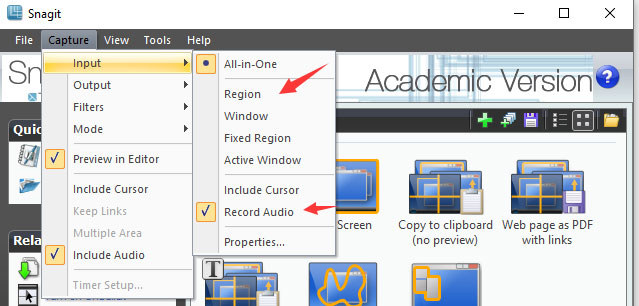
Step 2. Tap Capture at the top menu > Mode > change the image capture mode (default) to Video Capture > click Yes on the pop-up check window.
Step 3. Choose the recording area and input audio. The default setting is all-in-one mode. You can also change to Region, Window, Fixed Region or active Window if needed. And the input audio capture feature is activated by default.
Step 4. Play the live streaming video on your Facebook, YouTube, Tiktok, Disney Plus, etc. streaming video platform. Go back to Snagit and tap the red Capture button to begin capturing a live stream video on Windows 10/11 or Mac.
5. Screencapture.com
Beyond the above all-round live stream recorder software, you can also consider online live streaming recorder – screencapture.com, which excels in online recording streaming videos from YouTube, Facebook Live, Twitch, LinkedIn Live, and more with system or microphone audio.
This online free service doesn't limit streaming video recording time. You can record non-stop streams as long as you need and save them at high quality. The best shining part is that you can do this even in Incognito mode to protect your personal privacy at utmost. Certainly, any free online service, irrespective online converter or online screen recorder, persuades its users to upgrade to its payment plan via either duration limit or watermark. This one obviously adopts the latter one.
- Online capture streaming video without any software installed.
- Capture of screen live streaming video, webcam, system sounds, and microphone.
- Incognito mode is free to use.
- Not allow free users to choose the format for the output file.
- Watermark in videos in the free version.
How to Screen Record Live Stream Video Online with screencapture
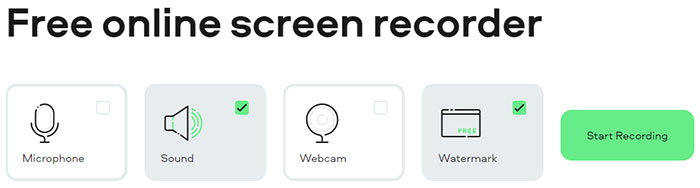
Step 1. Access to screencapture.com and opt for the features you need. Sound and Watermark are automatically enabled. If you need recording Microphone, manually tick it.
Step 2. Go to your streaming site or platform and play the live streaming video you wanna record.
Step 3. Go back to screencapture and tap the green button "Start Recording". Then, you're asked to choose among Chrome webpage, window and entire screen. Afterwards, tap Share to begin online recording live streaming videos on your Windows PC, macOS or mobile device.
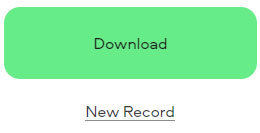
Step 4. Tap the red "Stop Recording" button if you wanna end capturing. Then, hit the "Download" button on the newly pop-up window and your recording file will auto be saved to your local folder in MP4 format.
In conclusion, the world of live stream recording offers an array of tools that empower content creators to capture, preserve, and share their live streaming experiences. From the flexibility of Winxvideo AI to the focused online screen recording of screencapture, each recorder brings its own strengths to the table. Pick up the one you prefer grounded on your specific needs and budget. Hope you have a great live stream recording journey.


