


How to Rip and Play DVD Movies on Kodi
Kodi is a popular choice for home theater enthusiasts and those looking for a versatile media player solution. XBMC/Kodi can play media from CD/DVD media using an internal DVD-ROM drive or Blu-ray Discs (unencrypted). However, many users want to convert DVDs to a digital format compatible with Kodi to organize your DVD collection, create playlists, and easily access your movies and TV shows through Kodi's user-friendly interface. In this post, we will show you how to rip DVDs to Kodi easily.
Table of Contents
Part 1. How to Convert DVDs to Kodi Fast and Easily?
WinX DVD Ripper can easily rip your DVD collection for playback on Kodi.
- It supports DVDs with region code, CSS, RCE, UOPs, Sony ARccOS, Disney X-project DRM, and more. This feature ensures that you can convert your entire DVD library, even if some of your discs are protected by copyright measures.
- The 350+ large output library allows you to convert DVDs to Kodi supported formats AVI, MPEG, WMV, FLV, QuickTime, MP4, M4A, and more with ease.
- With support to GPU hardware acceleration, it brings 5x faster ripping speed. So you can rip your DVD collection to Kodi player with the fastest speed.
- Moreover, there are options to tailor your ripped content to your preferences. You can select specific titles, chapters, audio tracks, and subtitles, and you can trim, crop, and merge videos, and more.
To rip a DVD to Kodi, you can free download the DVD to Kodi ripper and follow these steps:
[Tutorial] Steps to Convert DVD to Kodi Player
Step 1. Insert the DVD.
Insert the DVD you want to rip into your computer's DVD drive. Open the DVD ripping software you installed earlier.
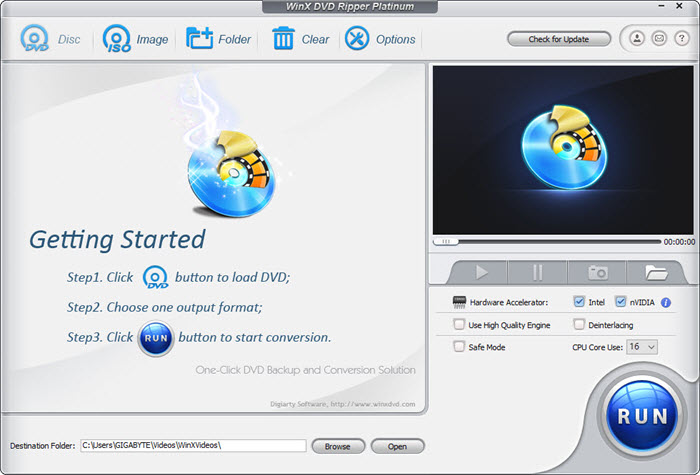
Step 2. Import the DVD into WinX DVD Ripper.
Launch WinX DVD Ripper and click the "DVD Disc" button and choose the DVD drive where your disc is inserted.
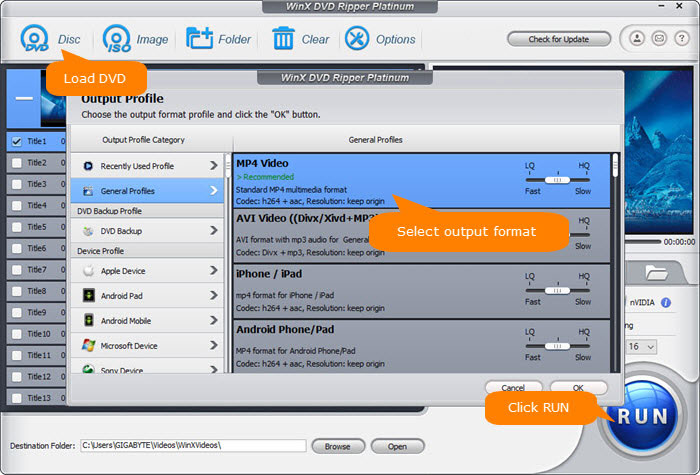
Step 3. Select the output format.
After loading the DVD, WinX DVD Ripper will display the Output Profile window. Select the output format that is compatible with Kodi. Popular formats include MP4, MKV, or AVI. Make sure to check Kodi's supported formats to ensure compatibility.
If you want to make any specific adjustments to the output video, such as resolution, bitrate, or audio settings, you can customize them in the software.
For more formats supported by Kodi, check here >>
Step 4. Specify the save path.
Click the "Browse" button to designate where you want to save the resulting file. Additionally, you can specify your desired audio track and subtitle track. You can also click the "Edit" button to trim, crop, and add an external subtitle track. Furthermore, you can click the gear icon to adjust parameters like resolution, bit rate, and audio channel.
Step 5. Start the ripping process.
Click the "RUN" button to begin ripping DVD for Jellyfin. The duration of the ripping process will depend on your hardware and chosen settings. After the ripping process is complete, the software will save the ripped file to your computer's hard drive. Remember the location where the file is saved. That's it! You have successfully ripped a DVD and imported it into Kodi for playback. Enjoy watching your DVD collection on Kodi!
Part 2. How to Import DVD Movies to Kodi?
Once you have successfully ripped your DVDs into digital formats, it's time to import them into Jellyfin and build your digital media library.
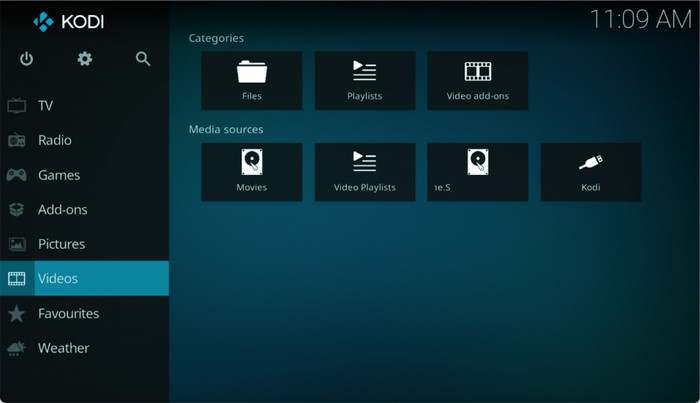
- Open Kodi and go to the main menu.
- Click on "Videos" tab and select "Files".
- Click "Add videos".
- Select the source folder where your movies are stored.
- Name the source and click "OK".
- Select the type of media in the source, in this case, "Movies".
- Choose the settings for the movie library, including whether to download artwork and information from the internet.
- Click "OK" and Kodi will start scanning the source folder for movies.
- Once the scan is complete, the movies will be added to your Kodi library and can be accessed from the main menu under "Movies".
Part 3. How to Play DVD on Kodi Directly?
With your ripped DVD collection integrated into Jellyfin, you can now enjoy your movies on various devices throughout your home.
- Go to the Kodi main menu.
- Select the Settings icon in the top left of the screen.
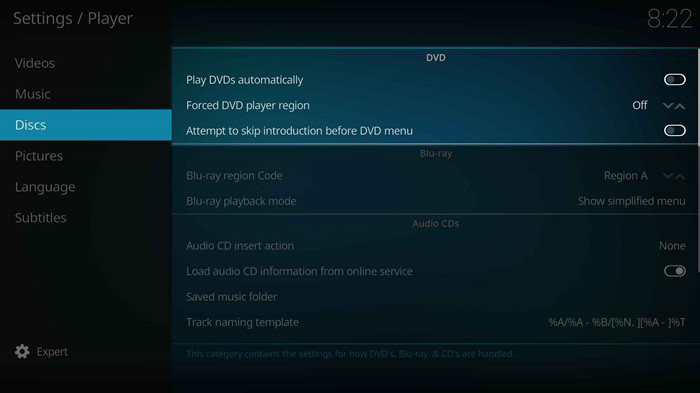
- Click The final subcategory "Discs" allows you to control playback of DVD, Blu-ray movie discs, and CDs.
- You can enable the settings here that are set to off by default. If you enable the "Play DVDs automatically" setting, Kodi will play the DVD when inserted into the optical drive. If you enable the "Attempt to skip introduction before DVD menu" setting on, Kodi will skip "unskippable" introductions before DVD menu.
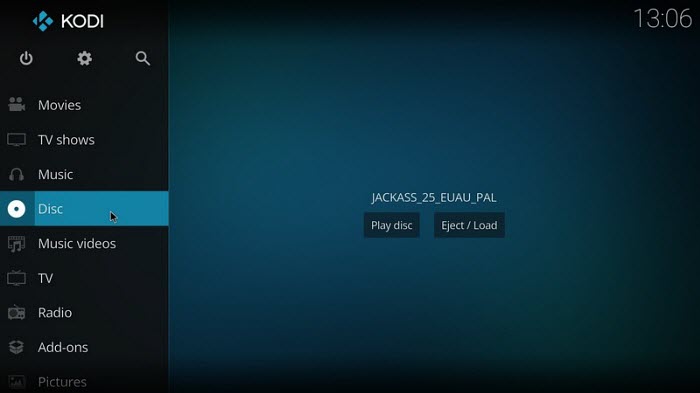
- Once the Kodi DVD playback settings are finished, you can insert a DVD into the optical drive and play the DVD on Kodi.
Disclaimer: Digiarty Software shares steps to rip DVD to Kodi player with users' own DVDs and strongly discourages ripping copy-protected DVDs for any commercial purpose. Please refer to the DVD copyright laws in your countries before doing so.


