14 Ways to Fix No Sound Issue on Windows 11 Computer
Many users notice that the sound is not working after they update their computer to Windows 11. Computer no sound is quite a common problem. It not only happens after update. You may find audio disappears after sleep. You might not hear anything on your Windows 11 computer suddenly or intermittently. Windows 11 audio not working is caused by many reasons, including but not limited to:
- Loose or broken audio jack.
- Speakers or headphones not correctly connected with computer.
- Wrong default output device selected.
- Outdated, corrupted, incompatible, or missing sound card drivers.
- Misconfiguration of audio settings.
- Required audio services disabled.
- Any recent change in your system's settings.
- Your system's audio components being attacked by malware.
- Audio codec not supported by the audio software.
For these reasons, we come up with 14 ways to fix no sound issue on Windows 11.
- Fix 1. Unmute the sound and turn up the volume
- Fix 2. Check the audio output device
- Fix 3. Check the connection between the audio output device and the computer
- Fix 4. Connect your audio device to a different computer
- Fix 5. Run the built-in audio troubleshooter
- Fix 6. Turn off Enhance audio
- Fix 7. Reinstall audio device drivers
- Fix 8. Install audio driver
- Fix 9. Install updates for your system
- Fix 10. Restart computer
- Fix 11. Fix audio services
- Fix 12. Undo recent changes
- Fix 13. Try a different audio player
- Fix 14. Reset your PC
How to Fix Windows 11 No Audio Issue?
1. Unmute the sound and turn up the volume
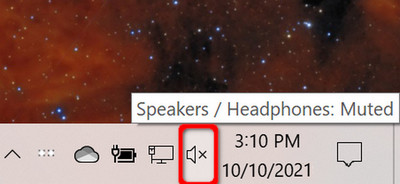
When we find the sound isn't working on Windows 11, the first thing we need to do is to check if we have muted the system's audio. To do this, just check if there is an x next to the volume icon which is located at the bottom right corner of your Windows 11 computer.
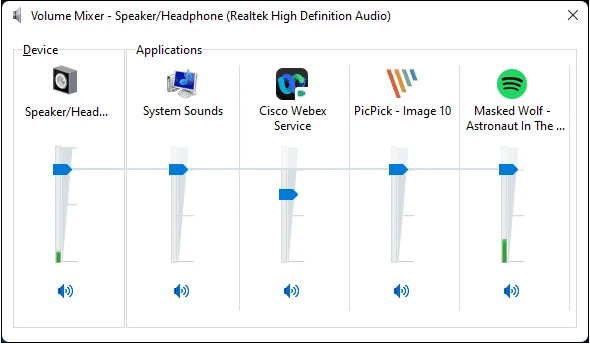
If the audio isn't muted, you also need to check if the audio is set at an extremely low level. Right click on the volume icon, choose Open Volume mixer, and then you'll see the volume level for all devices and applications. If the volume is set at a very low level, try turning them up and then see if you can hear the audio on PC now.
In addition, you also need to make sure the audio on the media player or other programs you're using is configured properly. For example, when you try to play audio files with VLC in Windows 11 computer, you not only need to check the audio settings of your computer, but also need to check the audio settings in VLC.

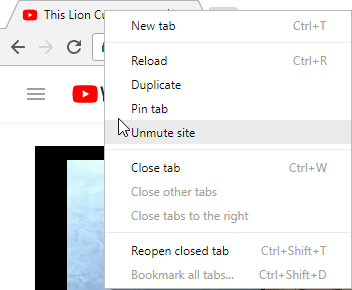
If you play audio through a web browser, you need to check if you've muted a specific tab. You can right click on a tab and check Unmute tab.
2. Check the audio output device
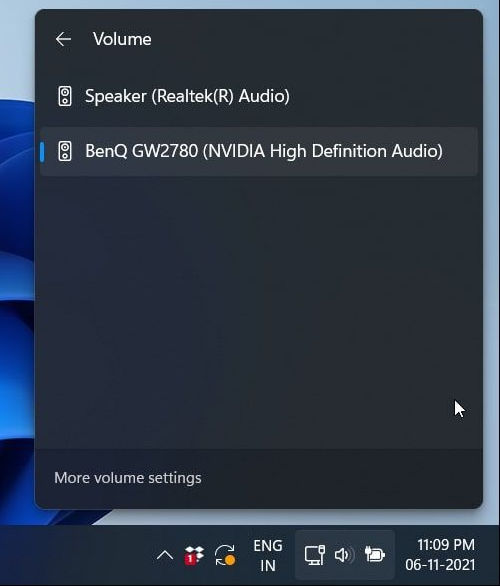
When you have two or more audio output devices connected to your computer, it may play audio through the wrong one and cause no sound. This can be easily fixed by changing the device. Just click the volume icon on the taskbar and now you will see the name of the current audio output device. Click the device and then you'll see a list of all available audio output devices. Choose a different device and check if the sound is working or not.
3. Check the connection between the audio output device and the computer
If you can't see your audio output device, it may be not connected correctly. Try doing what we tell you below:
- For a wired headset, make sure your audio output device is inserted into the green port above which you may see a headphone icon.
- Try unplugging and reconnecting your headphone.
- Try jiggling the headphone plug.
- Try a different headphone if possible.
- To avoid something interfering, try disconnecting other devices from your PC.
For wireless Bluetooth headphones, make sure you've disconnected them from other devices like phone and paired them to your computer properly. (See more Bluetooth devices not connecting issues)
4. Connect your audio device to a different computer
If the sound plays fine on other computers, then the problem might be with your computer. If you also can't hear audio on other devices, your headphones or speakers are most likely the problem.
5. Run the built-in audio troubleshooter
This tool can help you find and fix some common audio problems on Windows 11. There are two ways to access this troubleshooter.
The quick way is like this: Right-click the sound icon on the taskbar, choose Troubleshoot sound problems, and then it will start detecting and fixing problems. Now you just need to wait and apply any potential resolutions it might suggest.
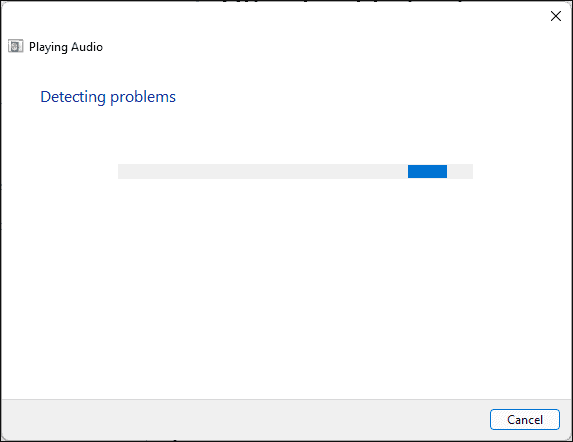
Alternatively, you can click the Start button -> Settings -> select Troubleshoot on the System tab -> select Other trouble-shooters -> click the Run button on the right side of Playing Audio.

6. Turn off Enhance audio
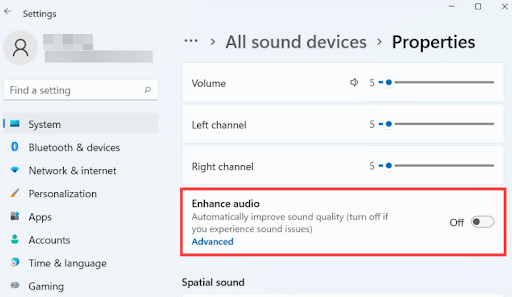
With Enhance audio on, it will automatically improve sound quality. But if you experience no sound issues on Windows 11, you're suggested to turn it off.
Here are the steps:
- Press Windows key and I to access Settings.
- Click System and then click on Sound.
- Next, click on your audio device from the list to open Properties.
- On the Properties screen, find Enhance audio and toggle the switch to Off.
- Next, click on the Advanced link and check the Disable all enhancements box.
- Click OK and Apply to save the changes.
7. Reinstall audio device drivers
Since Windows 11 sound not working may be caused by corrupt or outdated audio device drivers, we can try reinstalling drivers and see if it works. To do this, we just need to uninstall the audio device drivers, restart our computer, and then the best matched audio drivers will be reinstalled automatically.
Follow the steps below to uninstall audio device drivers:
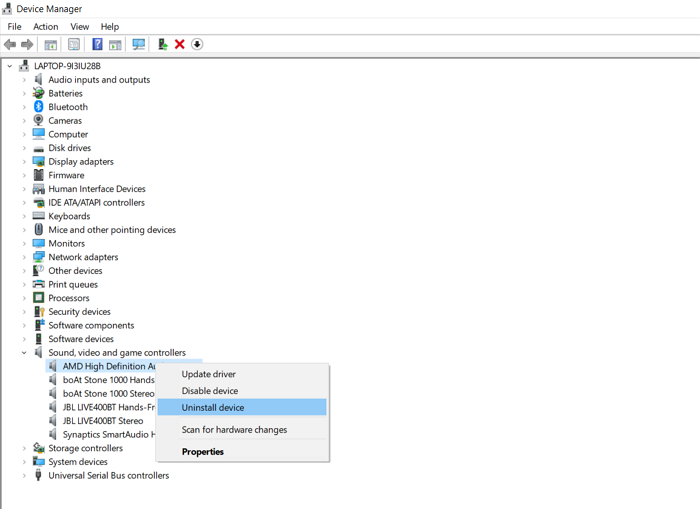
- Press the Windows and the X key and then select Device Manager.
- On the Device Manager window, expand the Sound, video and game controllers.
- Locate and right-click on your primary audio output device, usually Realtek High Definition Audio or USB Audio Device.
- Then, click on Uninstall device.
8. Install audio driver
Another possibility is that you don't see any audio driver installed under Sound, video and game controllers. In this case, you need to download and install it by yourself. Just open your device manufacturer's website and search for audio drivers for your system model. Once you find them, just download and install them.
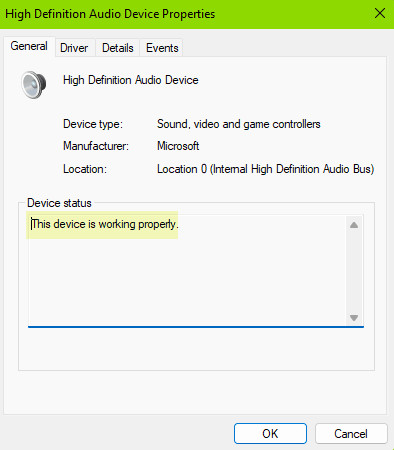
Once done, you can go to Device Manager and see if you can find audio drivers under Sound, video and game controllers. And you can double click on the driver and verify if the device status is 'This device is working properly'.
9. Install updates for your system
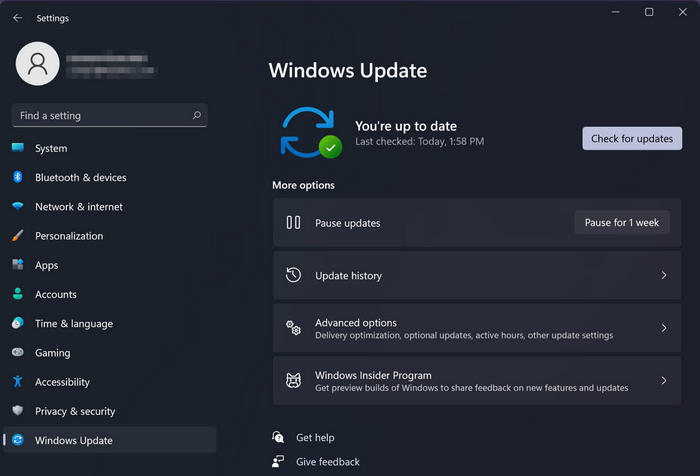
If Windows 11 sound not working after update becomes a common issue, Microsoft might release an update version to fix the bug. So, you can go to Start > Settings > Windows Updates > Check for updates and see if there are any updates. If there are, try downloading.
10. Restart computer
Restarting computer can help you finish potential pending updates and resolve temporary incompatibility issues. Right-click the Start button and go to Shut down or sign out > Restart.
11. Fix audio services
You need to make sure your audio services are enabled. To check this:
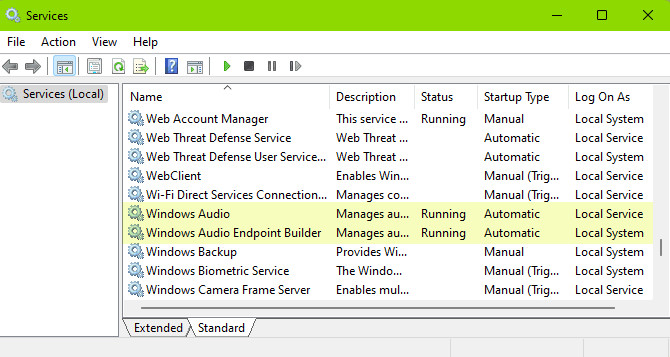
- Tap Windows + R, enter services.msc, and click OK.
- In the Services window, you need to make sure the status of Windows Audio, Windows Audio Endpoint Builder, and Remote Procedure Call is Running and the startup type of these services is Automatic.
12. Undo recent changes
If Windows 11 computer's sound quit working recently, this issue may be caused by the changes you've made. If the sound issue occurs after you install a program, try uninstalling it. some programs may tamper with your sound card driver. Other things you can try include running system restore and rolling back a driver.
Related: Quick Fix for Windows 11 Can't Connect To This Network.
13. Try a different audio player
If you play a local file with no sound, you can try a different player. For example, if there is no audio in VLC, you can try 5KPlayer or something.
Alternatively, you can also try to change the audio format. For a video file, you can re-encode the video with a different audio encoding format using HD Video Converter Deluxe or other tools you like.
14. Reset your PC
Resetting PC should be used only as a last resort because it will remove all third-party apps from your computer. But you don't need to worry about your personal files, because you can choose to keep or remove them before resetting.
To reset PC to fix the sound issue on Windows 11, you should:
- Press the Windows and I key to open the Settings app.
- In the left pane, open the Windows update tab.
- Under More options, click on Advanced options.
- On the Advanced options page, scroll down to Additional options.
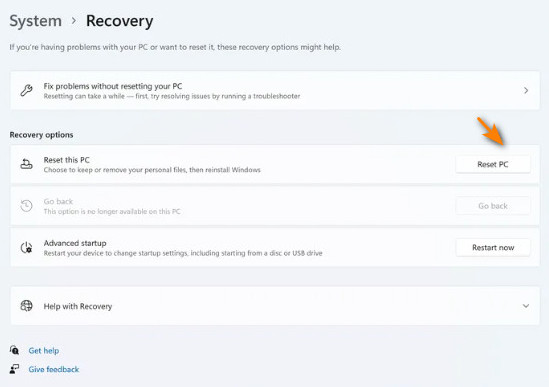
- Next, click on Recovery.
- Click on the Reset PC button for Reset this PC.
- In the Choose an option window, click on Keep my files.
- Next, choose Local Reinstall or Cloud Download.
- Read the description under Additional settings and then click Next. Follow on-screen instructions and wait for your Windows 11 PC to reset successfully.