How to Stabilize Shaky Video in DaVinci Resolve: 3 Methods
 Mike Rule
Updated on
Is it possible to stabilize videos using DaVinci Resolve? Absolutely. This robust video editing software offers stabilization options across three distinct pages: the Edit page, Cut page, and Color page. But how can you effectively stabilize videos within these pages, and what are the key settings to adjust? In this comprehensive guide, we will guide you through the process of how to stabilize video in Davinci Resolve 18/17/16, offering a detailed, step-by-step walkthrough of the stabilization process and a deep exploration of the intricacies involved in adjusting these vital settings.
How to Stabilize Video in DaVinci Resolve
As we mentioned above, the video stabilization tools are distributed across three distinct pages. Now, we'll guide you on where to find the tools and how to use them to turn your shaky footage into a smooth video clip.
To begin with, you need to download and install DaVinci Resolve on your computer. The latest version - DaVinci Resolve 18.5 - is compatible with Windows, Mac OS X, and Linux. To download this software, you need to register.
Once it's all set up, launch DaVinci Resolve, create a new project, right-click within the media pool and select Import Media to open your shaky video that you want to stabilize.
Now, decide if you'd like to stabilize your video on DaVinci Resolve's Edit, Cut, or Color page. DaVinci Resolve's Cut page only allows you to select stabilization mode while Edit and Color pages give you more control.
Stabilize Video in DaVinci Resolve's Edit Page
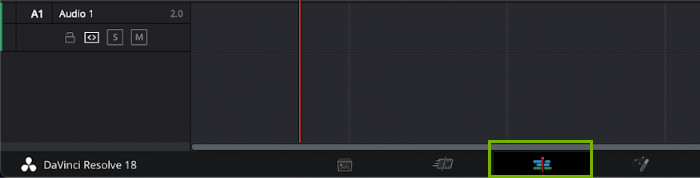
1. Click on the Edit button which is the third one at the bottom center. Then, you'll be directed to the Edit page.
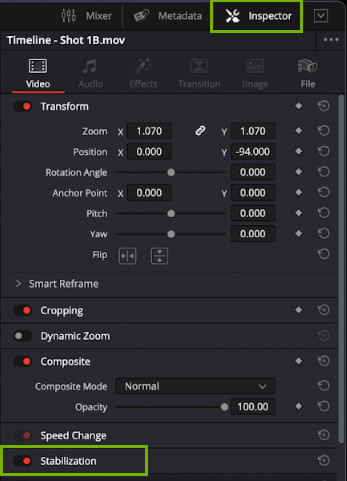
2. Drag your video from the media pool to the timeline, select it on the timeline and then click on the Inspector tab situated at the top right corner to access the Inspector panel.
3. Within the Inspector, locate the Video section, and scroll down to Stabilization area. Then, enable the stabilization feature.
Tips: If you have more than one clip selected, DaVinci Resolve stabilization function will be greyed out.
Here, you need to select stabilization mode, cropping ratio, smooth, and strength based on your own needs.
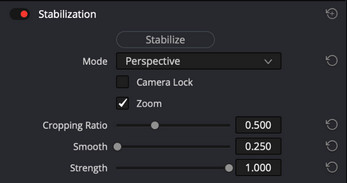
Below are the three stabilization modes that DaVinci Resolve provides:
- Perspective: Adjusts angles based on pan, tilt, zoom, and rotation. This is similar to the warp stabilizer in Adobe Premiere Pro.
- Similarity: Analyzes pan, tilt, and rotation.
- Translation: Focuses on pan and tilt.
Note the "Camera Lock" checkbox, which simulates a tripod effect on your footage, stabilizing it further.
Keep the "Zoom" option checked to eliminate any black bars that may appear after stabilization.
Use the "Cropping Ratio" slider to control how much cropping occurs after stabilization.
Adjust the "Smooth" slider to determine the smoothness of applied movements.
The "Strength" slider dictates the intensity of the stabilization effect. Be cautious, as high settings may distort your footage.
4. After you finish the settings, click the "Stabilize" button to trigger the stabilization process. A progress bar will appear to indicate the process duration.
Once done, preview your footage and see if DaVince Resolve stabilizes video as you expect.
If you are dissatisfied with the result, experiment with different settings. Once satisfied with the result, export the stabilized video.
5. Go to File, select Quick Export, adjust export settings, and then click the Export button to export the stabilized video.
Stabilize Video in DaVinci Resolve's Cut Page
- Select the shaky video clip on the timeline you want to stabilize.
- Under the preview page, click the Tool icon, represented by three lines each with a ball on them.
- Click on the Stabilize icon.
- Choose your preferred stabilization mode. The available choices are same as those found in the Edit page. However, there are no additional configuration options available, such as "Smooth" and "Strength."
- Click the Stabilize button to start stabilizing video in DaVinci Resolve.
Stabilize Video in DaVinci Resolve's Color Page
The stabilization feature in the Color page has all the options available in the Edit page. To stabilize video in DaVinci Resolve's Color tab, follow these steps.
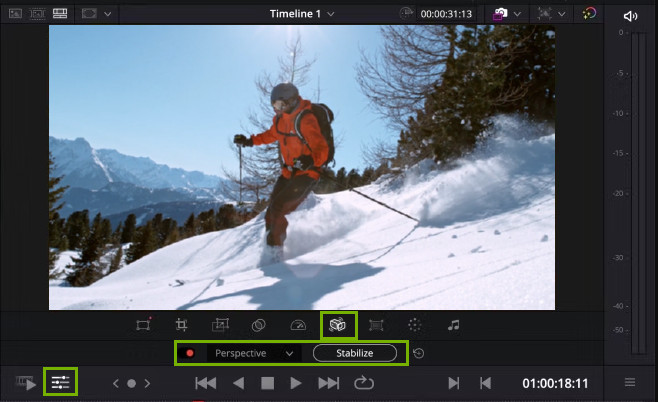
- Click the Color icon which is on the right side of the Edit button.
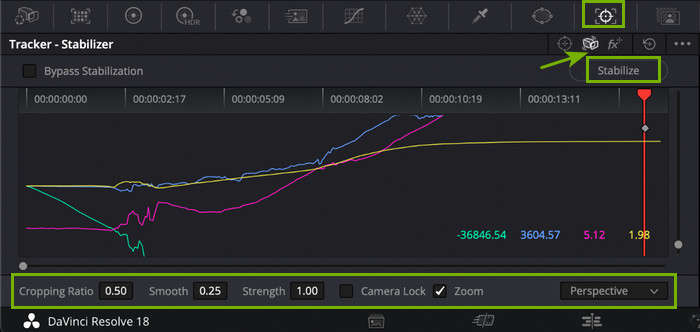
- Click the target-looking icon to pull up the Tracker tab.
- Click on the stabilize icon which looks like a shaking camera.
- Select stabilization mode and adjust other settings at the bottom.
- Click the Stabilize button to begin stabilizing video.
Learn more: A Guide to Davinci Resolve Denoise & Plugins
FAQs about DaVinci Resolve Stabilization
Why DaVinci Resolve stabilization function is greyed out?
This is probably because you have selected more than one clips.
Can DaVinci Resolve stabilize multiple clips at once?
Many users wonder if DaVinci Resolve can perform batch stabilization. However, DaVinci Resolve doesn't offer a built-in feature to stabilize multiple clips simultaneously in a single action. Typically, stabilization is applied on a per-clip basis. You would need to stabilize each individual clip separately.
If you have multiple video clips to stabilize, you can merge them together and then use DaVinci Resolve to stabilize it.
Does DaVinci Resolve have warp stabilizer?
DaVinci Resolve does not have a tool called "Warp Stabilizer" like Adobe Premiere Pro does. However, DaVinci Resolve offers its own powerful video stabilization tools that allow you to stabilize shaky footage and achieve smooth results.
DaVinci Resolve Stabilization Not Working? Try an Alternative
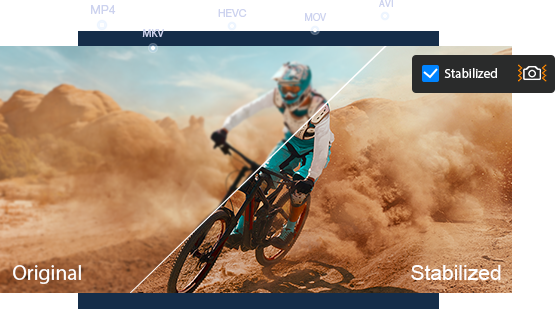
If you find that DaVinci Resolve's stabilization tools aren't delivering the results you need, it's worth considering alternative options. One such alternative that stands out is Winxvideo AI.
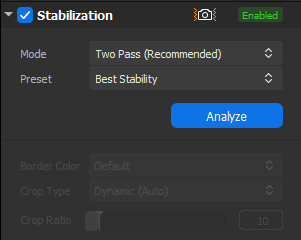
In situations where you require quick stabilization without delving into intricate settings, Winxvideo AI's stabilization tool can provide a streamlined solution. This tool arrives with four presets: Best Stability, Fastest, Balanced, and Minimum Crop. This is especially valuable for beginner users. Moreover, Winxvideo AI boasts two stabilization modes, namely One Pass and Two Pass, and gives users control over border color, crop type and crop ratio.
How to stabilize video with DaVinci Resolve alternative - Winxvideo AI:
Stabilizing video with Winxvideo AI is a straightforward process. Simply follow these steps:
- Download and install Winxvideo AI on your computer.
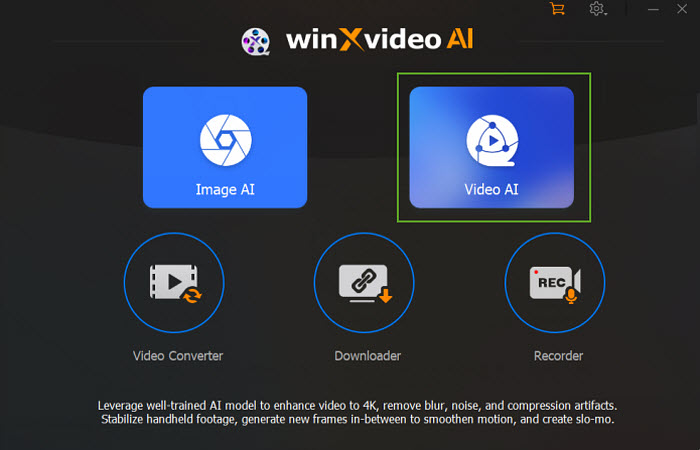
- Launch Winxvideo AI and select Video AI.
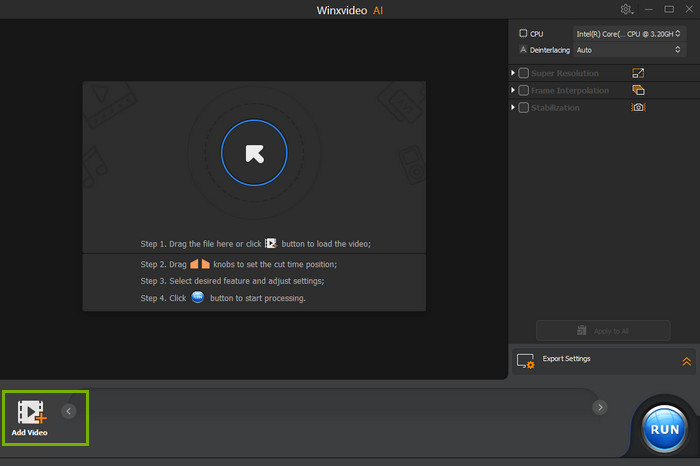
- Import the video you wish to stabilize by clicking the Add Video button at the bottom left corner.
- Enable Stabilization, select Mode and Preset, and then hit Analyze.
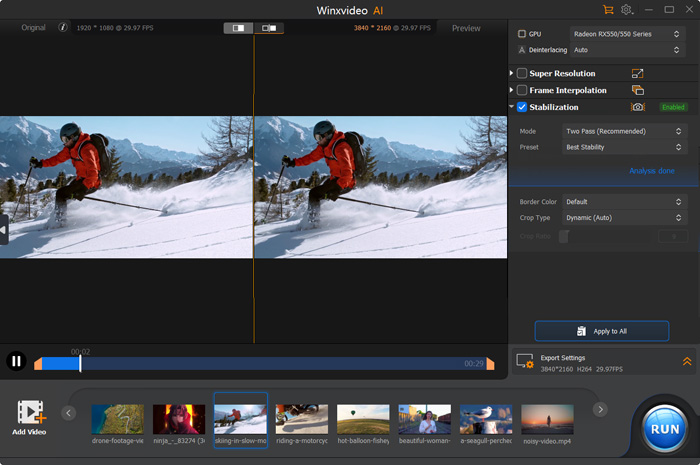
- Preview the stabilized video and make any necessary adjustments to achieve the desired outcome.
- Specify the output video codec, audio codec, quality level, GOP, and destination folder.
- Hit RUN to export the stabilized video in your preferred format.
 Free Download
  Free Download
Winxvideo AI is for PC, while Macxvideo AI (from our MacXDVD brand) is for macOS.