WinX DVD Ripper Platinum User Guide

1. Get Started
1-1. Download
Click the button below to download a setup file of WinX DVD Ripper Platinum.
1-2. Install
1 Double click "winx-dvd-ripper-pt.exe" to install it.
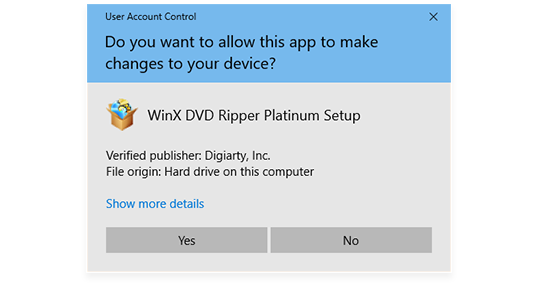
2 Click "Yes" if the UAC window pops up.
3 Select a language and click "OK" to go ahead.
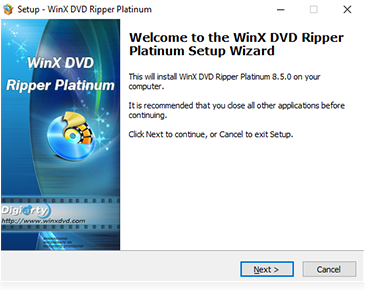
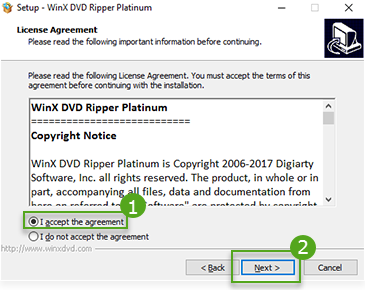
4 Click "Next" in setup wizard window, and "I accept the agreement" then "Next" in license agreement window.
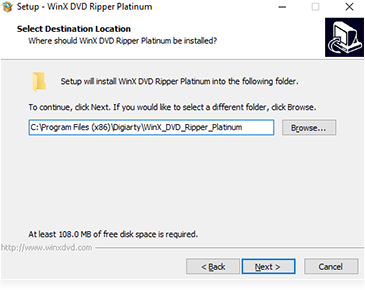
5 Select a destination folder and click "Next". It takes seconds to install WinX DVD Ripper Platinum.
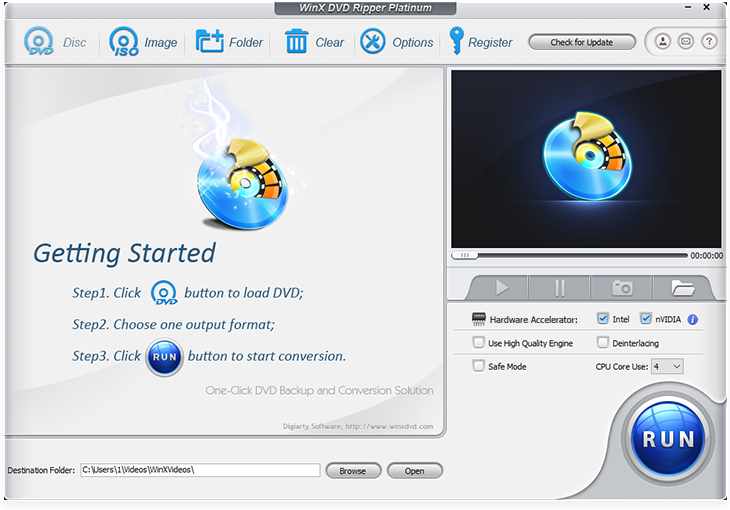
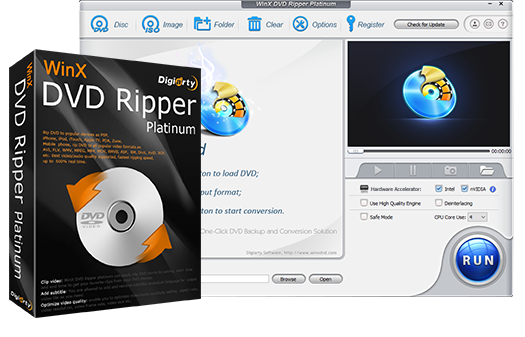
6 After installation, launch WinX (trial verison) and you will see the main interface as below.
1-3. Trial Limits
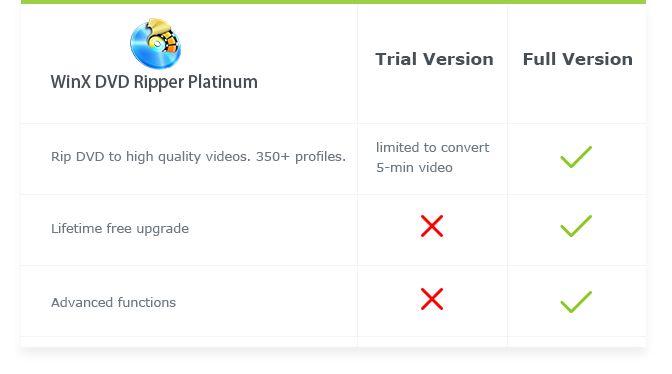
You have the following limits with a trial version.
1 Trial version is limited to convert 5-min video for evaluating purpose.
2 No free update to the latest full version.
3 Advanced features are not available.
※ Tips: you can order full version to remove the 5-min limit in trial. Also, the full version will constantly upgrade for free to remove the latest DVD copy protections.
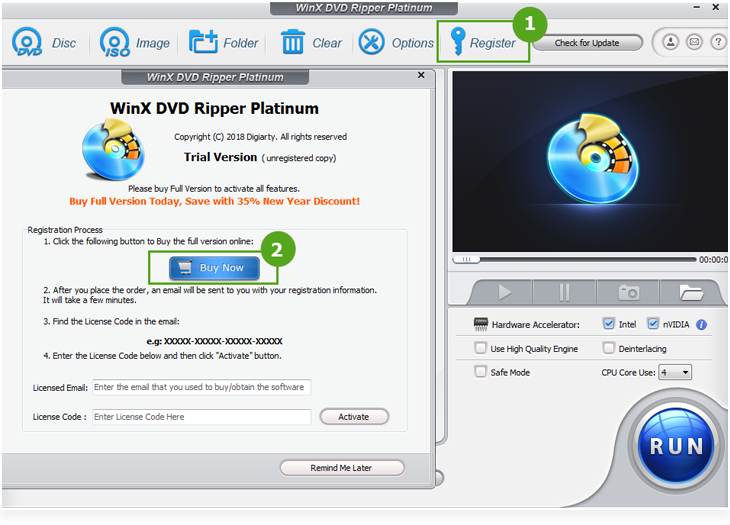
Here is how you can purchase WinX DVD Ripper Platinum full version.
1: Click "Buy Now" below.
2: Or click "Register" button in the toolbar and click "Buy Now".
1-4. Register
※ You will receive product information with license code via email after placing your order.
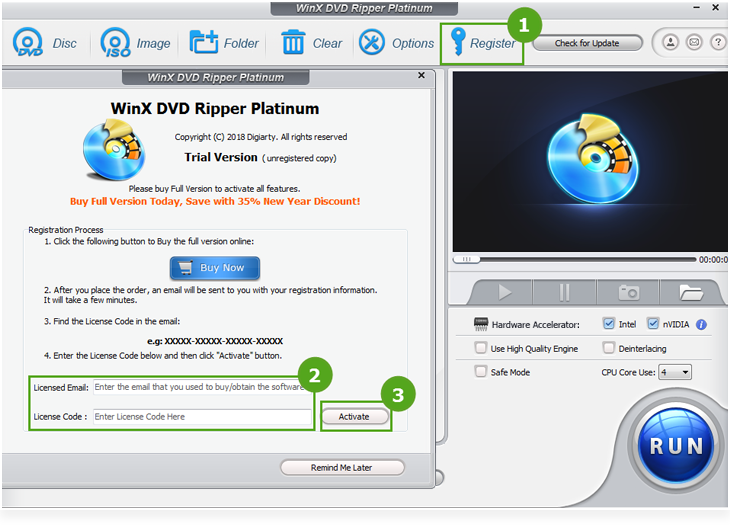
1 Click "Register" in the toolbar.
2 Enter your registration info in "Licensed Email" and "License Code".
3 Click "Activate".
Please note that there is no space in the code field. It's highly recommended to copy & paste code to avoid typos.
4 You will get a prompt message to confirm that you have successfully registered the software.

2. Basic Operation
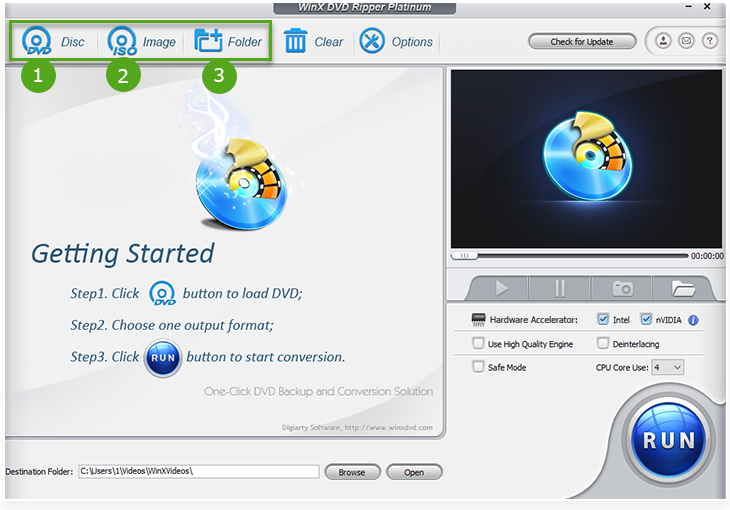
You can operate DVD ripping in 3 steps easily. Just do as following: Load DVD > Select Output Profile > Rip DVD.
2-1. Load DVD
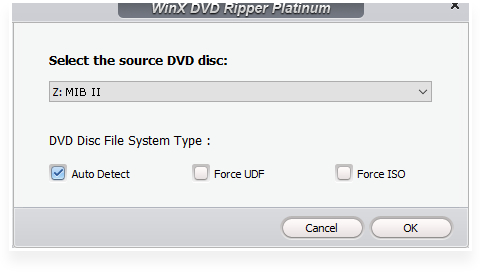
You can load DVD by clicking "DVD Disc", DVD ISO image by clicking "ISO Image" or DVD folder by clicking "Folder". And click "OK".
New! A new DVD disc file system has been put into effect since V 8.0. You can select different settings ("Auto Detect", "Force UDF" & "Force ISO") to rip more DVDs even damaged ones.
2-2. Selecet Output Profile
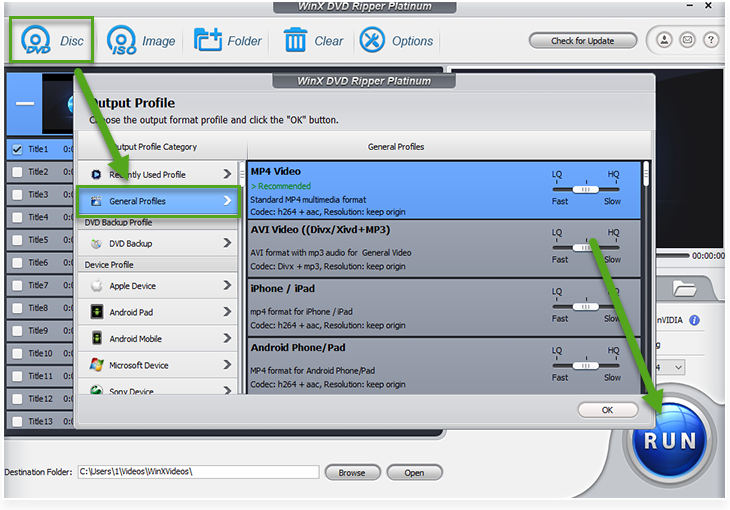
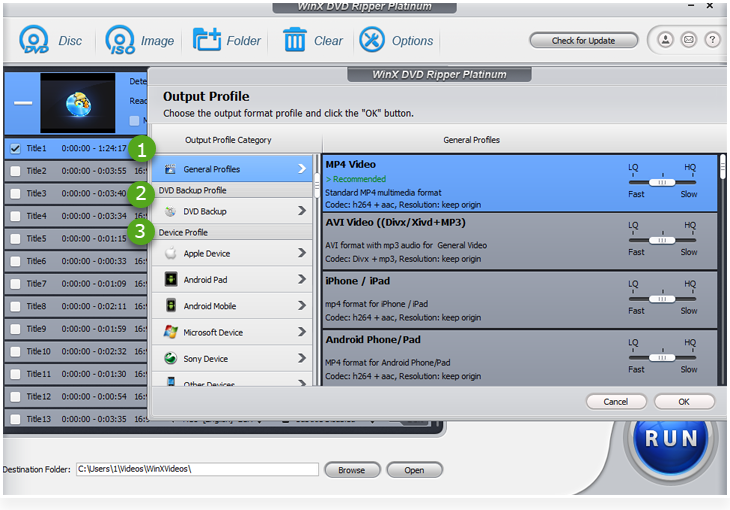
It will pop up an "Output Profile" window after the DVD is imported.
1 "General Profiles"
You'll find output formats that are commonly used right here.
2 "DVD Backup Profile"
It uniquely supports 4 DVD backup modes. Duplicate DVD without quality downgrade.
3 "Device Profile"
Rip DVD for playback on iPhone, iPad, Android, smart TVs, game console, etc.
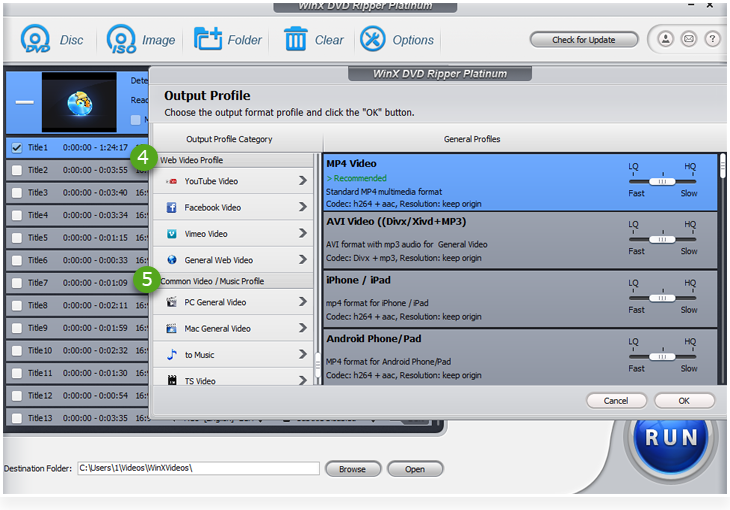
You can scroll down the window to find more profiles.
4 "Web Video Profile"
Pick a profile if you'd like to convert DVD to MP4, MPEG4 or FLV for YouTube, Facebook and other social networks.
5 "Common Video/Music Profile"
Rip DVD to PC/Mac, extract background music from DVD to MP3, AAC and more.
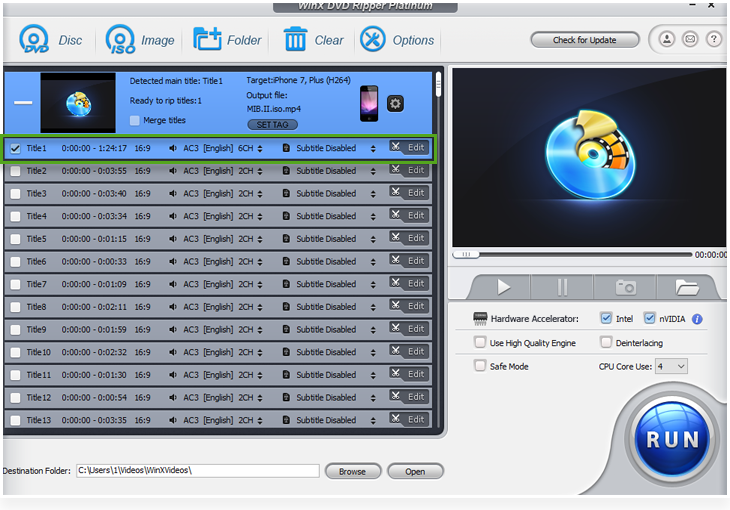
Simply choose the one you need among the above categories, and click "OK" to enter the interface shown as below.
※ This DVD ripper will automatically detect the correct title so that you can rip DVD in correct order. It also supports (Disney) 99-title DVDs, TV series DVDs and workout DVDs.
2-3. Rip DVD
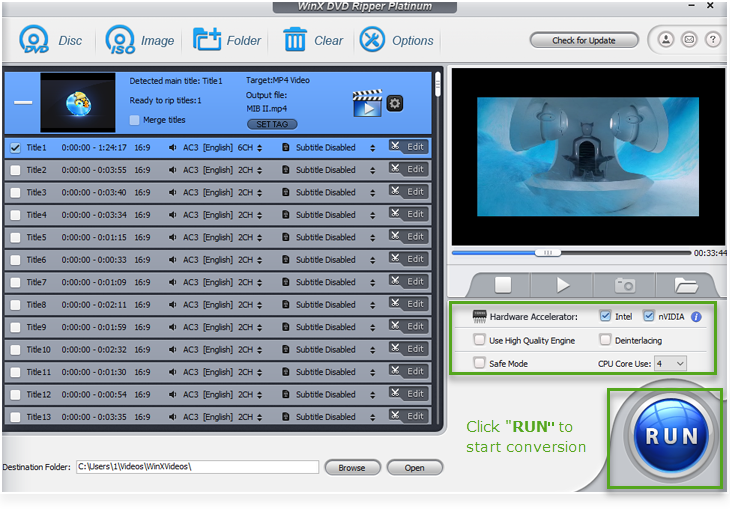
(Optional) Click "Browse" to change destination folder to save converted video.
After that, click "RUN" in the lower-right corner to start ripping.
※ Other useful tips:
1 Enable "CPU Core Use" or "Hardware Accelerator" box to process DVD ripping faster.
2 Select "Use High Quality Engine" or set "Deinterlacing" for better image quality.
3 "Safe Mode" is especailly used when encountering conversion problems: conversion stops unexpectedly and the conversion sequence goes wrong, etc.
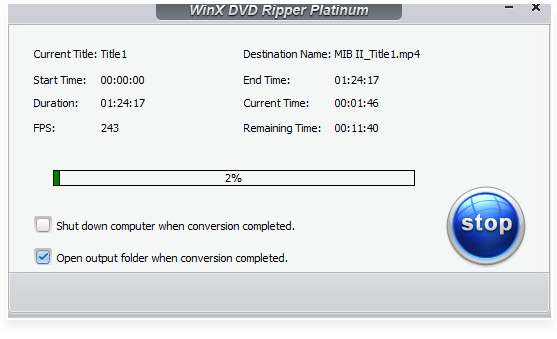
Ripping process in works
2-4. Enhance the DVD Video Quality with AI (Optional)
After ripping your DVD to a digital file, you may notice that the original 480p DVD looks blurry when played on modern 1080p or 4K screens. To make your old movies clearer and more vibrant, you can use Winxvideo AI – an advanced AI-powered video enhancer that automatically upscales DVD videos to 1080p or 4K, reduces noise, and restores lost details.
This optional step gives your classic DVDs a second life, delivering sharper, smoother, and more colorful playback on today’s displays.

3. Settings
Here you can learn how to take advantage of other icons and settings.
3-1. Clear
This icon will remove all the titles in file list window and go back to the initial interface directly.
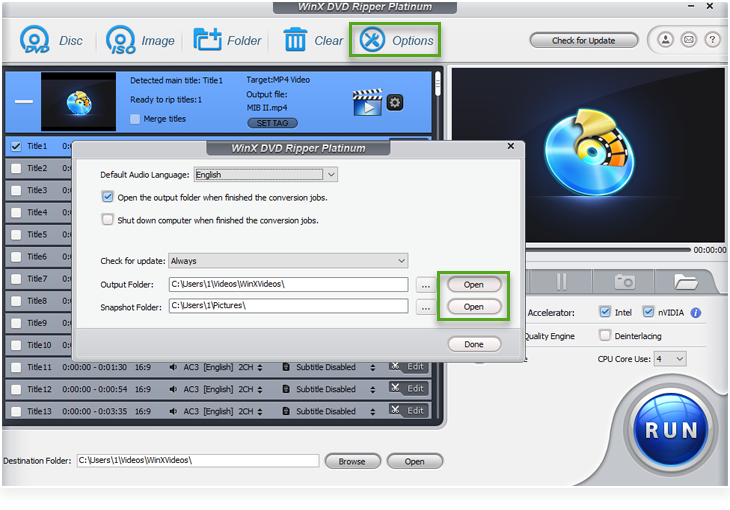
3-2. Options
Click it to customize default audio language, update, output folder and snapshot folder.
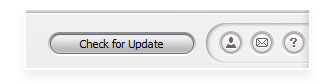
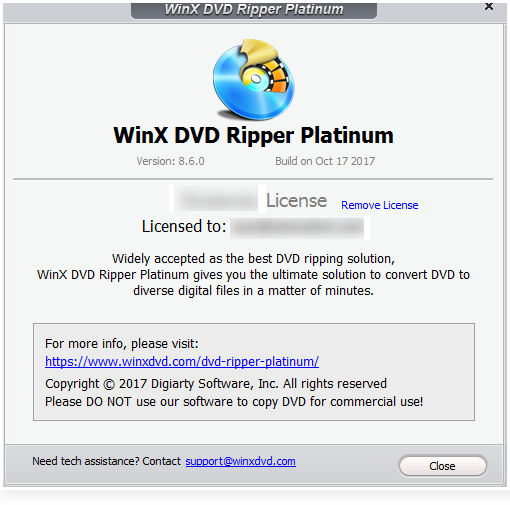
3-3. Product Information
You can find detailed information about the product in the upper-right corner of user interface.
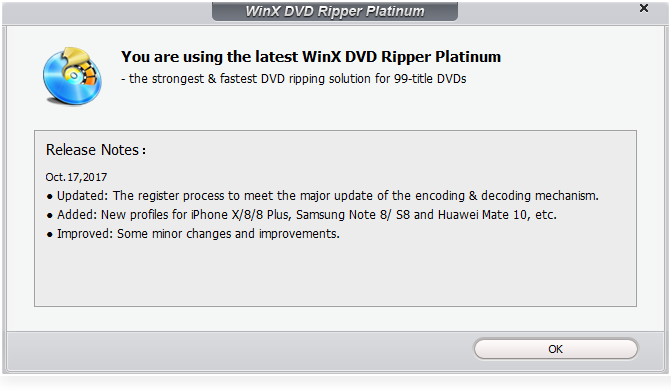
1  : Click to see whether you have the latest version or not.
2  You will find product information like Version No., Built date, Registration Status, etc.
3  : Click it to drop us a line if you have any product question or suggestion. You can also email a Log File (which will help us do better analyses for you) to us.
4  : Click to set language for user interface.
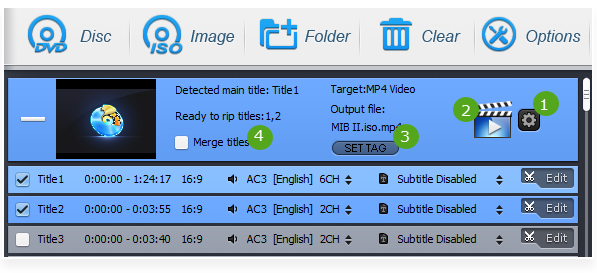
3-4. Output Settings
Learn how to customize output settings here.
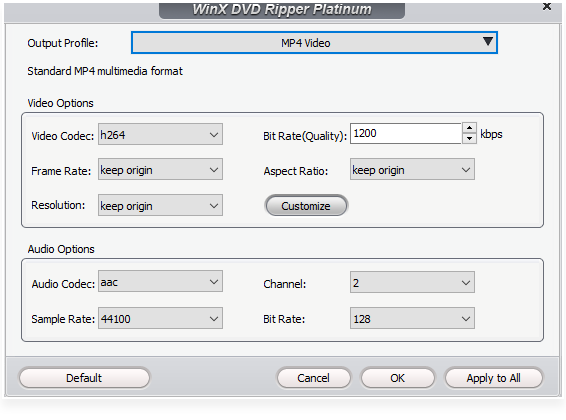
1  : Open this gear icon to balance the output quality and file size.
You can customize video audio codec, bitrate, frame rate, aspect ratio, resolution, audio codec, audio channel number, sample rate, etc.
* Click "Default" to restore to initial state.
2  : Change the output profile directly.
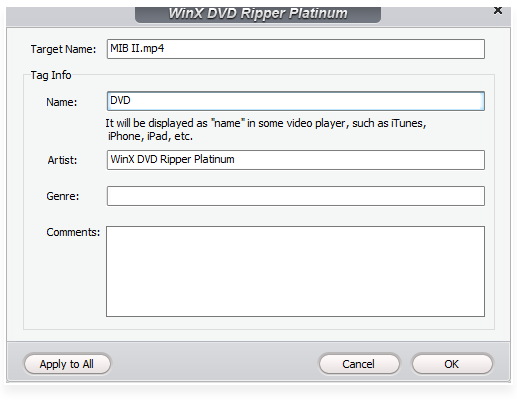
3  : Rename output file for proper display on iPhone, iPad, Apple TV and other devices.
4  : Click "Merge titles" to combine selected titles into one.
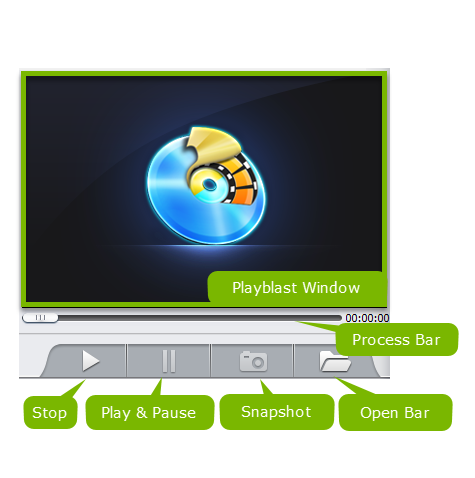
3-5. Preview Window
Preview Window is composed of Playblast Window, Process Bar, Stop, Play & Pause, Snapshot and Open Bar buttons.
Click snapshot button to take picture appearing in the video and store as PNG.

4. Edit
WinX DVD Ripper Platinum is preloaded with a video editor to output your desired video style. Learn how to adjust volumn, add subtitle, crop and trim DVD as follows.
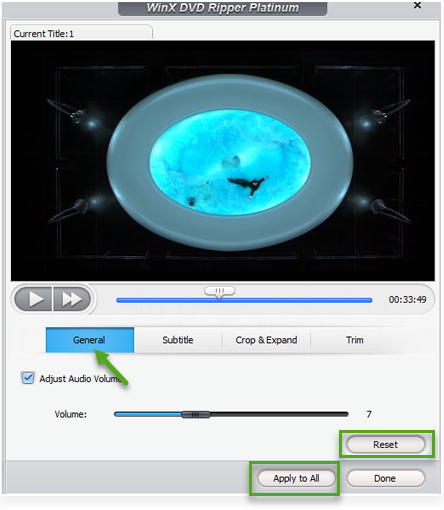
4-1. Volume
Click "General" -> Check "Adjust Audio Volume" -> Drag the bar to adjust volume freely
If there is any mistake, click "Reset" to restore to initial state.
"Apply to All": apply changes to all selected titles.
"Done": finish the adjustment.
4-2. Subtitle
You can select subtitle in DVD, add extra subtitle or adjust subtitle position using this feature.
Inner Option: Choose one of subtitles from original DVD.
Extra Option: Add extra .srt subtitle. You can also change the language you want.
Position Option: Adjust subtitle position, three options are availble, Bottom, Center, Top.
It also supports forced subtitle. Forced subtitle appears on screen when a foreign/alien language is spoken, or showed in a sign, location, or other text, aiming to explain the meaning but can not be placed in the dubbing.
4-3. Crop & Expand
Crop and expand converted video to fulfill the screen or devices via following options.
① Crop
Crop Original: Free, Crop letterBox, 16:9, 4:3 and 1:1.
Position: Set boundary from left and top with pixel.
Size: The resolution of crop video/image.
② Expand: Auto expand to profile video resolution to fulfill the playback screen.
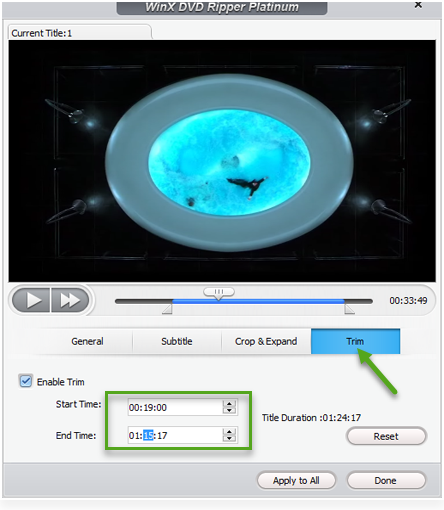
4-4. Trim
Click "Trim" button to rip only part of your DVD.
Check "Enable Trim" option to set any time point of the DVD as Start Time and End Time.
* You can also just drag the slider to select a segment to be ripped.


 1. Get Started
 2. Basic Operation
 3. Settings
 4. Edit