WinX DVD Copy Pro User Guide

1. Get Started
1-1. Download
Click the button below to download a setup file of WinX DVD Copy Pro.
1-2. Install
1 Double click "winx-dvd-copy-pro.exe" to install it.
2 Click "Yes" if the UAC window pops up.
3 Select a language and click "OK" to go ahead.
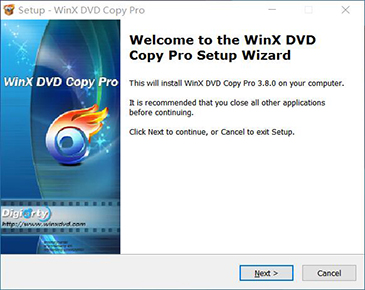
4 Click "Next" in setup wizard window, and choose "I accept the agreement" then "Next" in license agreement window.
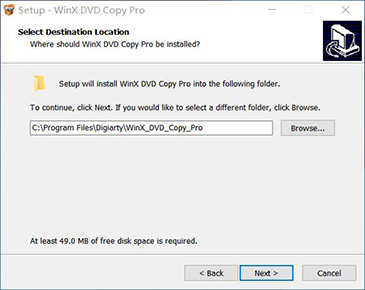
5 Select a destination folder and click "Next". It takes seconds to install WinX DVD Copy Pro.
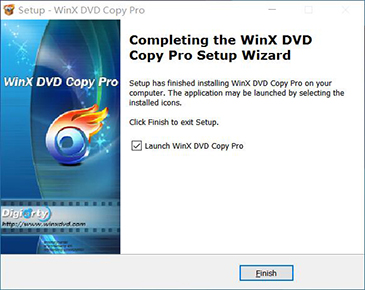
6 After installation, launch WinX (trial verison) and you will see the main interface as below.
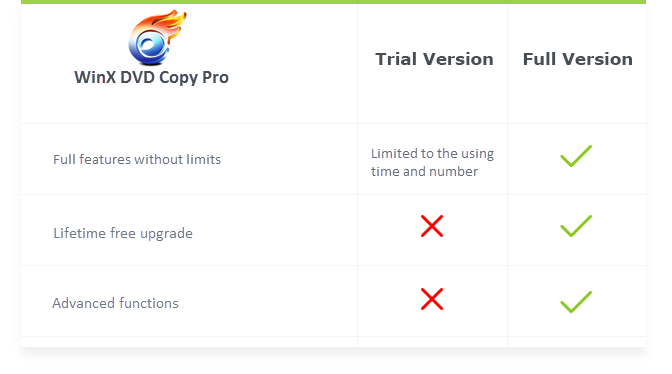
1-3. Trial Limits
You have the following limits with a trial version.
1 Trial version is limited to the using time and number for evaluating purpose.
2 No free update to the latest full version.
3 Advanced functions are not available.
※ Tips: you can order full version to remove the limits in trial. Also, the full version will constantly upgrade for free to remove the latest DVD copy protections.
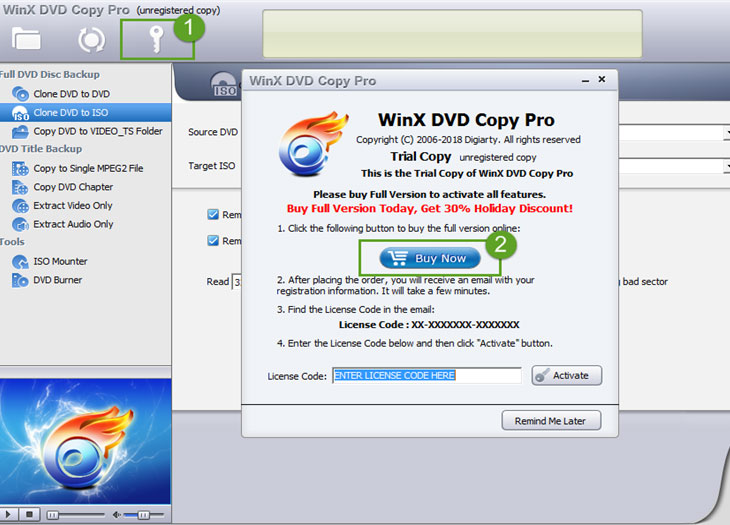
Here is how you can purchase WinX DVD Copy Pro full version.
1: Click "Buy Now" below.
2: Or click the key-shaped "Register" button in the toolbar and click "Buy Now".
※ After the purchase, you will receive product information with license code via email.
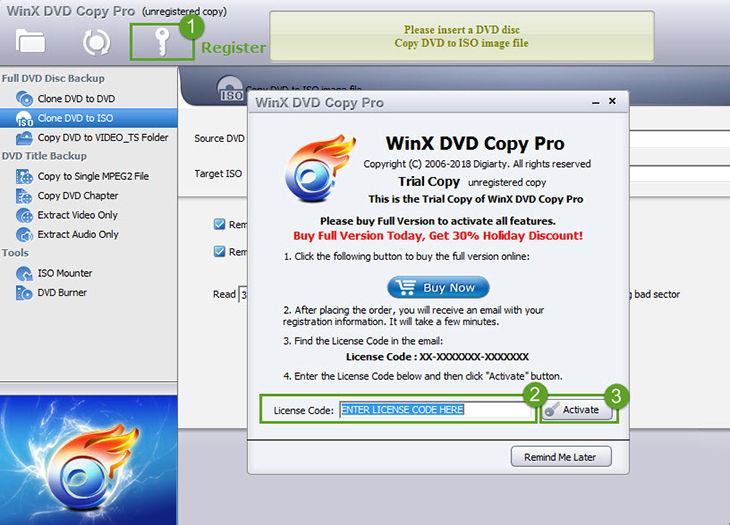
1-4. Register
1 Click "Register" in the toolbar.
2 Enter your registration info in the box of "License Code".
3 Click "Activate".
Please note that there is no space in the code field. It's highly recommended to copy & paste code to avoid typos.
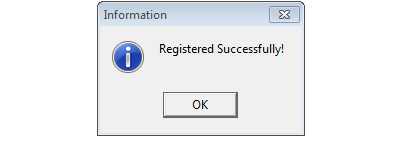
4 You will get a prompt message to confirm that you have successfully registered the software.

2. Basic Operation
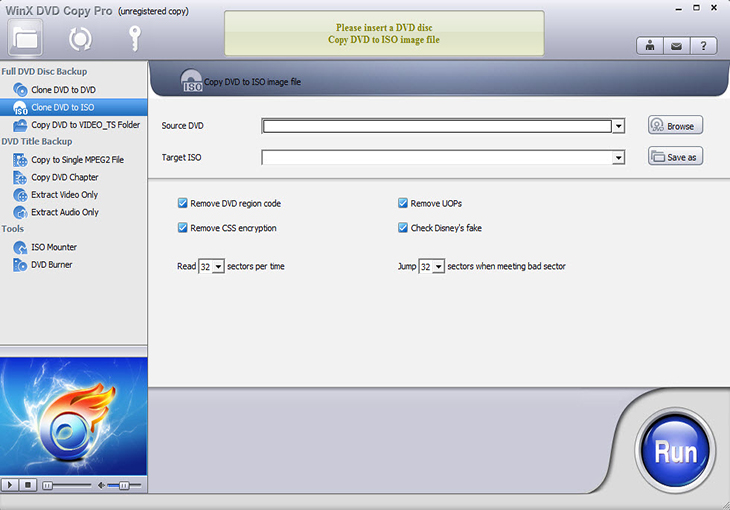
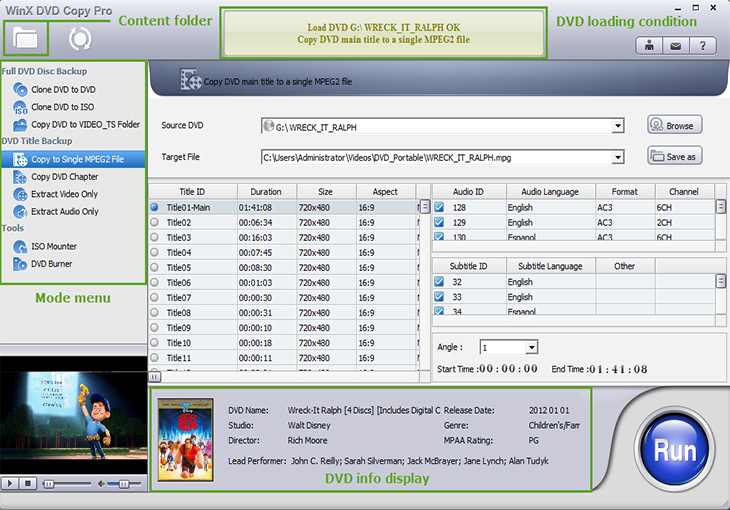
2-1. Interface Overview
Insert the source DVD and launch WinX DVD Copy Pro, you'll see the following main interface.
*Content folder: open DVD backup content produced by WinX DVD Copy Pro.
*Mode menu: WinX DVD Copy Pro provides Full DVD Disc Backup, DVD Title Backup and two tools - ISO Mounter and DVD Burner, totaled 9 modes.
*DVD info display: WinX DVD Copy Pro automatically accesses internet to get online DVD information from authoritative DVD library. These well gathered info can maximally ease your huge DVD library building.
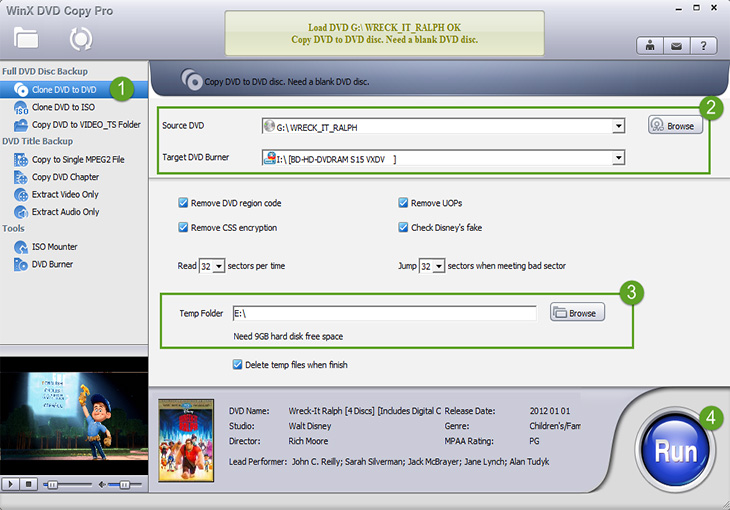
2-2. Clone DVD to DVD
You can copy D9 to D9 or D5 to D5, keep 1:1 ratio. Intact DVD Video/Audio data are cloned to blank DVD R/RW in minutes.
1 Select "Clone DVD to DVD" option.
2 Set the "Source DVD" and "Target DVD Burner".
Usually WinX DVD Copy Pro will automatically detect your inserted DVD disc. While if you have multiple DVD drives, click Browse button to choose the one you want.
3 Preset "Temp Folder" with Browse button.
Make sure the temp file destination has larger than 9GB vacant space.
Optional settings:
* When you are trying to copy commercial DVDs, make sure all Remove DVD Region Code, Remove CSS encryption, Remove UOPs, Check Disney's Fake options are selected.
* WinX DVD Copy Pro offers adjustable DVD-sector Reading / Jumping value, in case your DVD is severely scratched or damaged. Larger value you choose, more powerful for WinX to handle bad sectors. But at the mean time, you will also lose more DVD Video/Audio data because you may have jumped more sectors. Default value is recommended to set at 32 based on our test.
4 Click "RUN" to start the process.
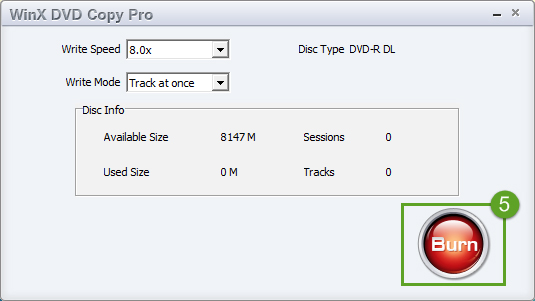
5 Final step:
- Multiple drivers: Right click "Burn" to finish copying DVD to DVD disc in the follwing pop-up window. (WinX DVD Copy Pro will analyze your DVD drive Write Speed, target Disc Type, and target Disc Info, which includes: Available Size, Sessions, Used Size, Tracks, etc.)
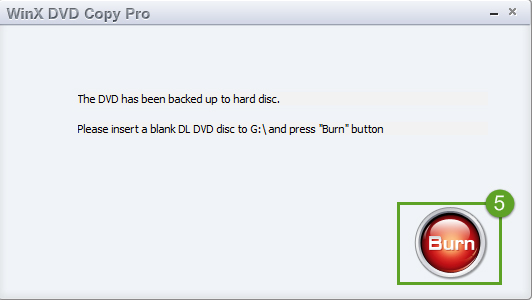
- Only one DVD RW drive on your PC: DVD content will be backed up to the temp folder first and a notice box pops up after the backup completed, then you need to insert a blank DVD and press "Burn" to finish the whole process.
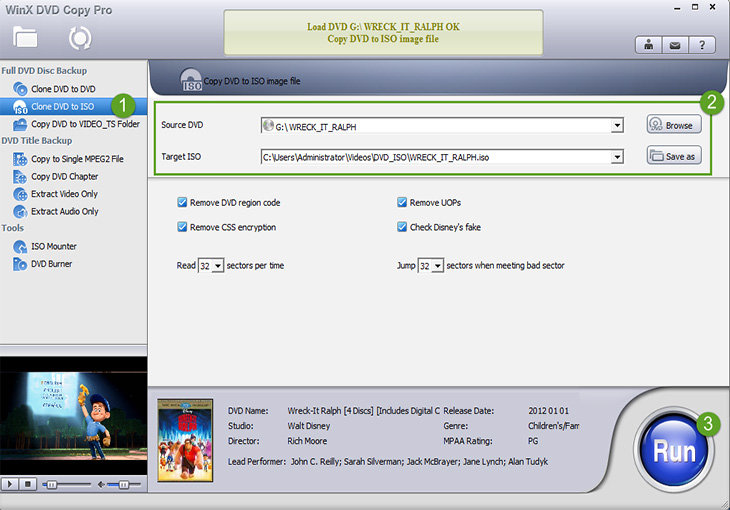
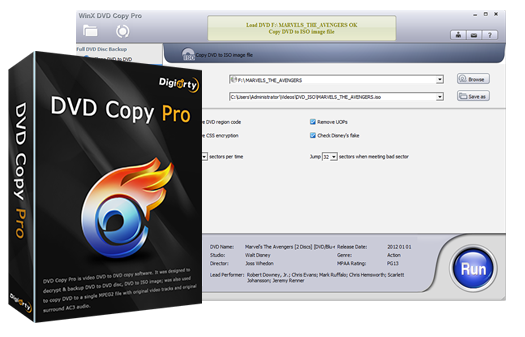
2-3. Clone DVD to ISO
Giving you one-click solution to 1:1 mirror DVD to ISO image - easier to manage and backup.
1 Select "Clone DVD to ISO " option.
2 Set the "Source DVD" and "Target ISO".
3 Click "RUN" to start the process.
 The output DVD ISO image can be used on:
- Burn to DVD disc. And usually these produced ISO are better than other video burning source, like AVI or MPEG2.
- Playable on majority of media players like VLC, MPlayer, DAPlayer, and even stream players.
- Backup to hard drive or mobile devices with powerful DVD Ripping software like WinX DVD Ripper Platinum.
- ISO image realizes a filing system which makes DVD library readily accessible.
That's the reason why ISO image is easier for manage and backup.
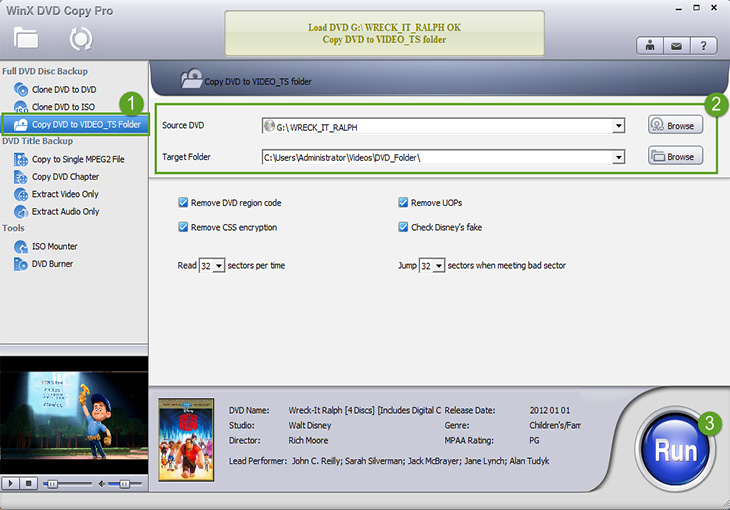
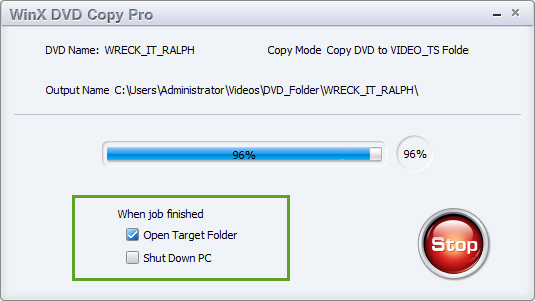
2-4. Copy DVD to VIDEO_TS Folder
The output DVD content is in VOB file stored on VIDEO_TS Folder - easily played back, editted, or converted onto mobile devices.
1 Select "Copy DVD to VIDEO_TS Folder " option.
2 Set the "Source DVD" and "Target Folder ".
3 Click "RUN" to start the process.
※ Tips: When WinX DVD Copy Pro finished this job, it can auto Open the Target Folder or Shut Down your computer.
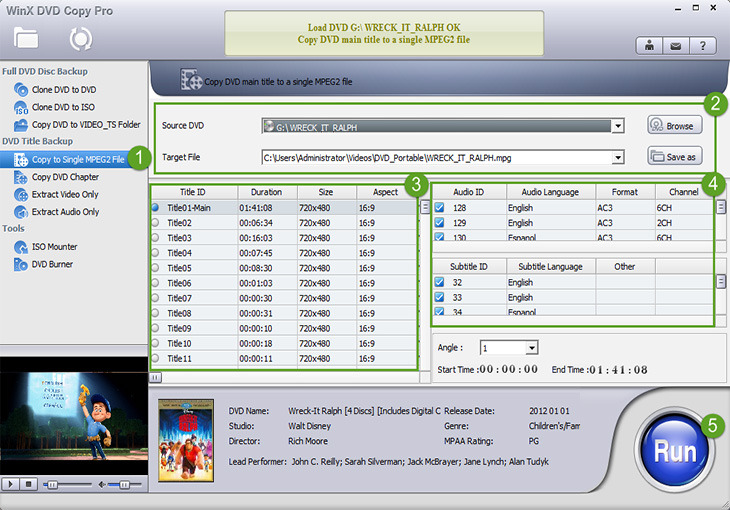
2-5. Copy to Single MPEG2 File
Keep original video tracks and high-fidelity 5.1-channel AC3/DTS Dolby audio.
1 Choose "Copy to Single MPEG2 File" option.
2 Set the "Source DVD" and "Target File" positions.
3 Check the DVD title you want to backup.
WinX DVD Copy Pro auto checks the main title of the movie. If that is not what you want, you can undo it first and set manually.
4 Check the Audio and Subtitle tracks.
WinX DVD Copy Pro will preserve all DVD Video / Audio / Subtitle tracks for you. Intact DVD information ensures original video tracks and original surround AC3 audio.
5 Click "RUN" to set off DVD to MPEG2 conversion process.
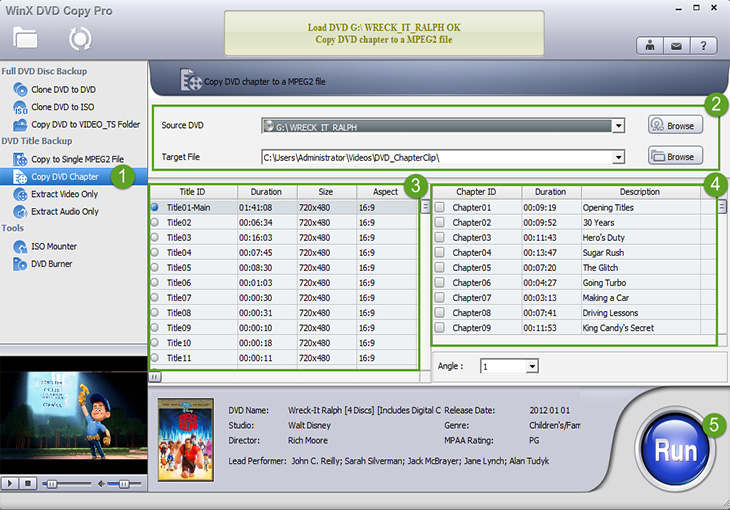
2-6. Copy DVD Chapter
You can copy only a certain range of chapters - especially designed for Episodic TV series DVDs and Music video DVDs.
1 Select "Copy DVD Chapter" option.
2 Set the "Source DVD" and "Target Folder " positions.
3 Check the DVD title you want to backup.
WinX auto checks the main title of the movie. If that is not what you want, you can undo it first and set manually.
4 Check the chapter you want to backup on the right side of main GUI.
WinX lists all DVD chapter informations, including: Chapter ID, Duration and Description. You can choose one or more DVD chapters you want.
5 Click "RUN" button to set off.
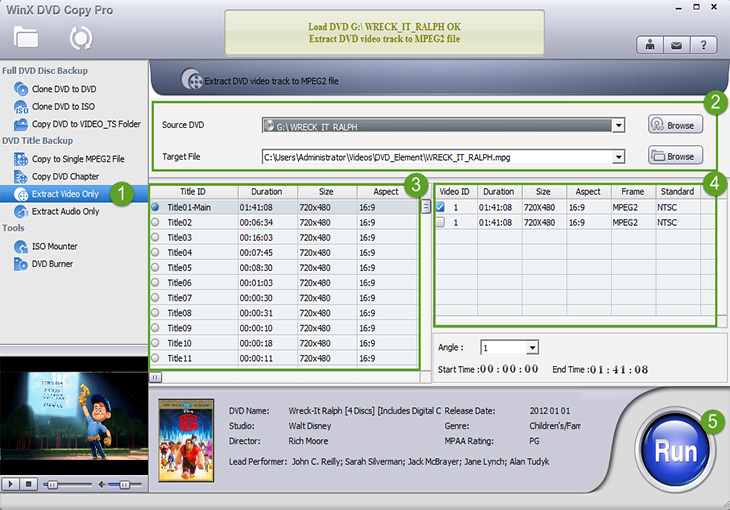
2-7. Extract Video Only
Helping you freely get video tracks from the target DVD movie.
1 Select "Extract Video Only" option.
2 Set the "Source DVD" and "Target Folder " positions.
3 Check the DVD title you want to backup.
WinX auto checks the main title of the movie. If that is not what you want, you can undo it first and set manually.
4 Check the video track you want to backup on the right side of main GUI.
WinX keeps DVD video size, aspect ratio, and DVD format after extracting video separately.
5 Click "RUN" button to set off.
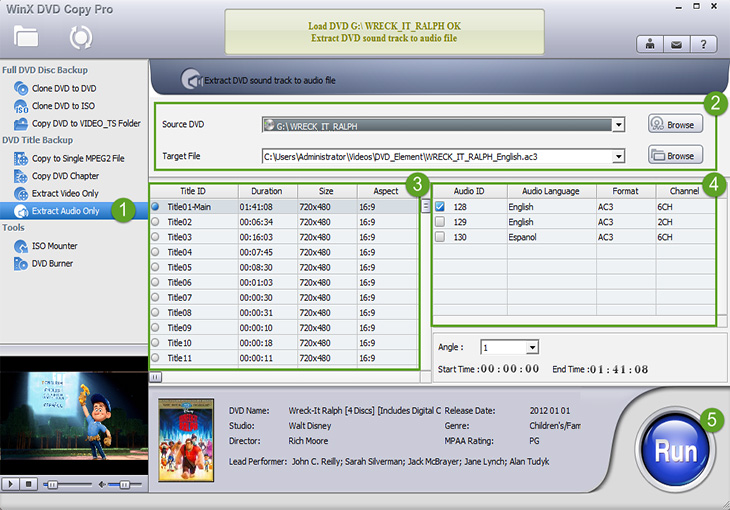
2-8. Extract Audio Only
Helping you freely get audio tracks from DVD movie.
1 Select "Extract Audio Only" option.
2 Set the "Source DVD" and "Target Folder" positions.
3 Check the DVD title you want to backup.
WinX auto checks the main title of the movie. If that is not what you want, you can undo it first and set manually.
4 Check the audio track you want to backup on the right side of main GUI.
You can freely choose Audio Language, Audio format and Channel you desire. 5.1 surrounding sound is also available.
5 Click "RUN" button to start the process.
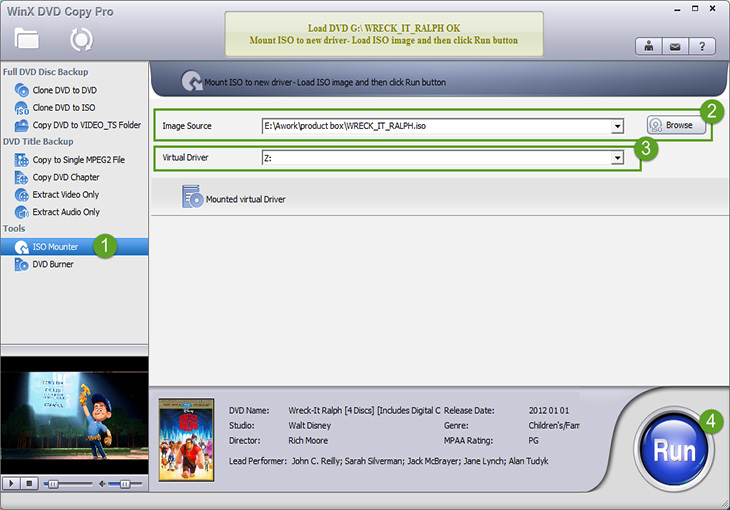
2-9. ISO Mounter
Helping you mount ISO Image to a new drive.
1 Select "ISO Mounter" option.
2 Browse to set an ISO image file as "Image Source".
3 Select the "Virtual Driver" for further ISO mounting.
4 Click "RUN" button to start ISO mounting process. The job is finished when a notice box pops up.
※ Tips: Multiple virtual drivers can be created.
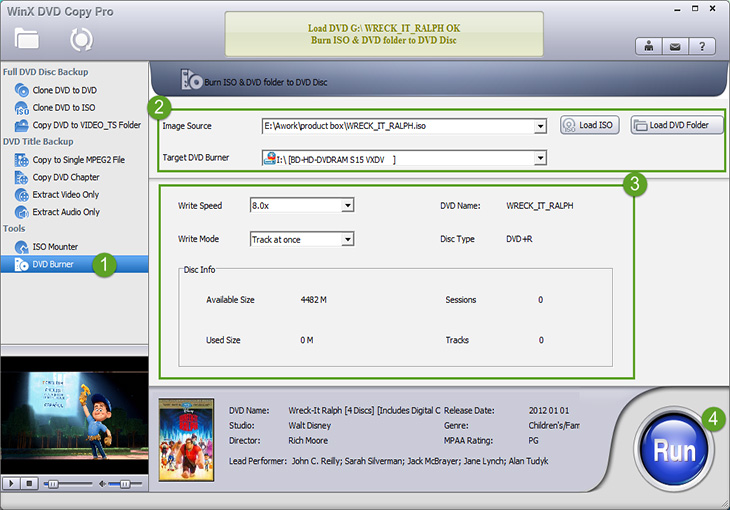
2-10. DVD Burner
Helping you burn DVD disc from existing DVD ISO image file or DVD folder.
1 Select "DVD Burner" option.
2 Load ISO or DVD folder as "Image Source" and choose "Target DVD Burner".
3 WinX DVD Copy Pro auto displays basic DVD info and burning info. You can check and adjust according to your needs.
4 Click "RUN" button to start burning process. The job is finished when a notice box pops up.

3. Settings
Here you can learn how to take advantage of other icons and settings.
3-1.Update
Click Update button to check the latest version.
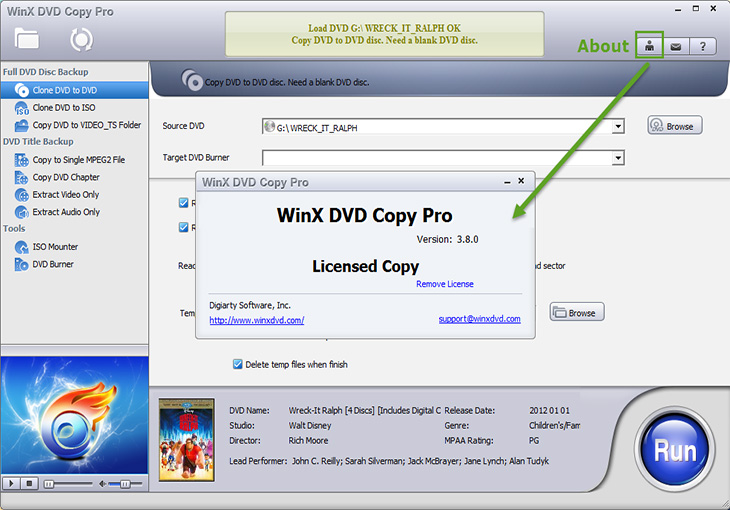
3-2. About
Click About button to check detailed software information as below.
3-3. Email Us
If you have any troubles when using this product, or you have any suggestions about improving your software, please feel free to email us. Our Customer Support team will respond you within 24 hours.
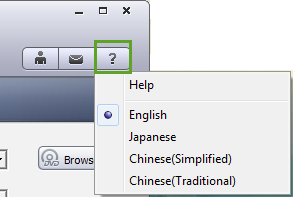
3-4. Help
Click Help button to open software Help document or choose multiple choice language.
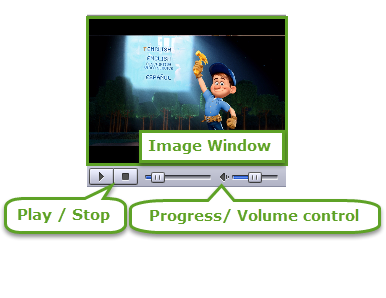
3-5. Preview Window
Preview Window is composed of Image Window, Play / Stop button, and Progress / Volume control button.


 1. Get Started
 2. Basic Operation
 3.
3.