WinX DVD Ripper Platinum
Rip a full DVD to MP4 (H.264/HEVC) in 5 mins. Backup DVD collection to hard drive, USB, etc with original quality. GPU Accelerated.
- DVD to MP4
- Support old/new/99-title DVD
- 1:1 copy DVD
- Full GPU acceleration
Learn More


Rip a full DVD to MP4 (H.264/HEVC) in 5 mins. Backup DVD collection to hard drive, USB, etc with original quality. GPU Accelerated.

AI-powered video/image enhancer. Complete toolkit to upscale, stabilize, convert, compress, record, & edit 4K/8K/HDR videos. Cinema-grade quality. Full GPU accelerated.

Manage, backup & transfer videos, music, photos between iPhone iPad and computer in an easier way. Free up space and fast two-way sync.

Find the answers to purchase benefits, license code, refund, etc.

Get help yourself if you have any questions with Digiarty Software.

Tutorials and step-by-step guides to learn how to use our products.

We've been focused on multimedia software solutions, since 2006.

Contact Support TeamHave any questions on purchase or need technical support, please contact us >>


 1. Get Started
Download the installation package of WinX HD Video Converter Deluxe.
1 Double click "winx-hd-converter-deluxe.exe" to install it.

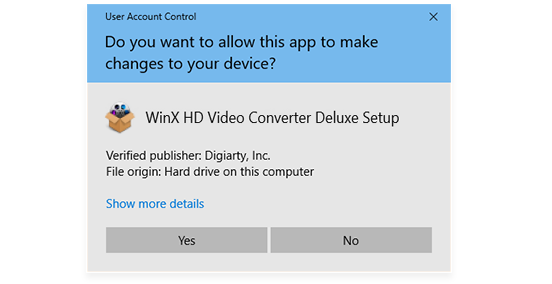
2 Click "Yes" if the User Account Control(UAC) window pops up.
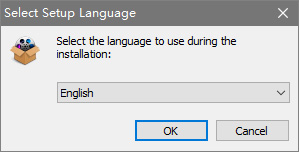
3 Select your preferred language and click "OK" to go ahead.
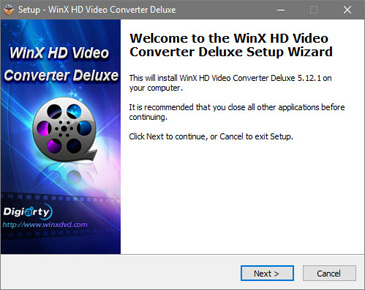
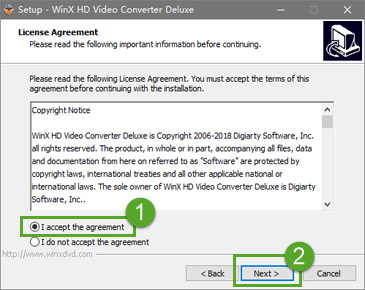
4 Click "Next" in setup wizard window. Select "I accept the agreement" and then click "Next" in license agreement window.
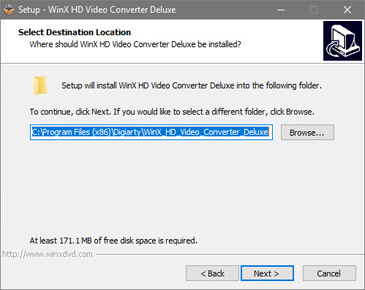
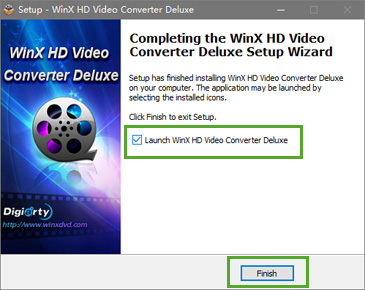
5 Select a destination folder to save the installation files and click "Next". It will take seconds to install WinX HD Video Converter Deluxe successfully. Then, you can click "Finish" to exit setup and open the software at once.
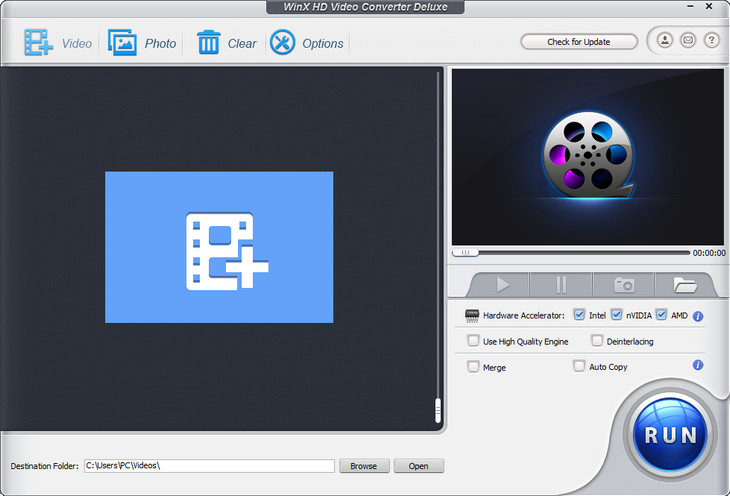
6 Launch WinX (trial version) and you will see the main interface as below.
The trial version of WinX HD Video Converter Deluxe has the following limitations:
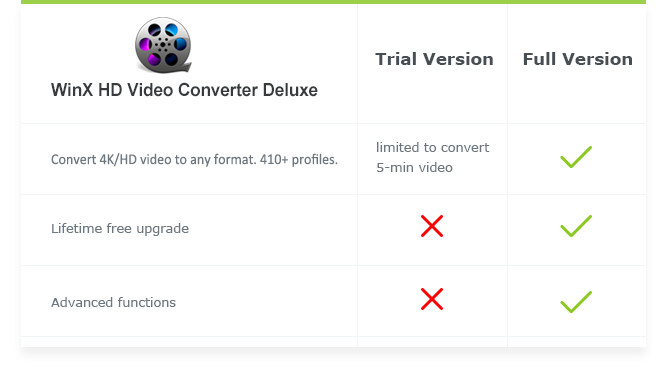
1 Trial version is limited to convert 5-min video for evaluating purpose.
2 No free update to the latest full version.
3 Advanced features are not available.
※ Tips: you can upgrade to full version to remove the 5-min limit. Also, the full version will constantly upgrade to latest version for free and provide technical support.
Here is how you can upgrade to WinX HD Video Converter Deluxe full version.
1: Click "Buy Now" below to purchase the full license code.
2: Or click "Register" button in the program's toolbar and click "Buy Now".
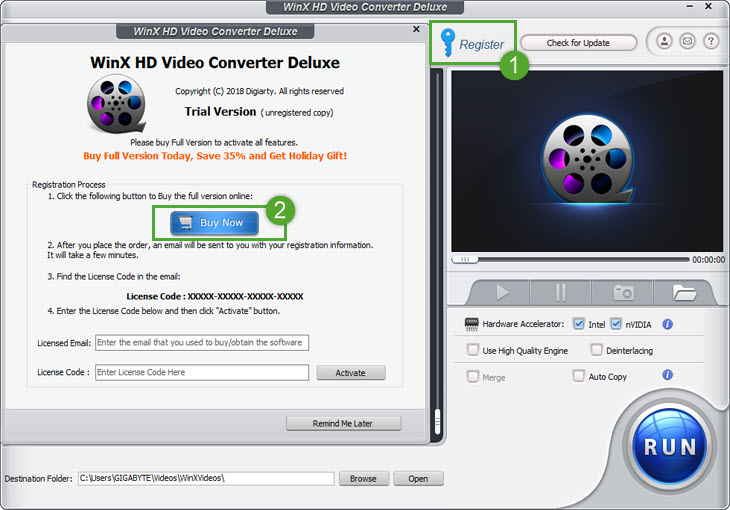
※ You will receive product information with license code via email once you complete the order.
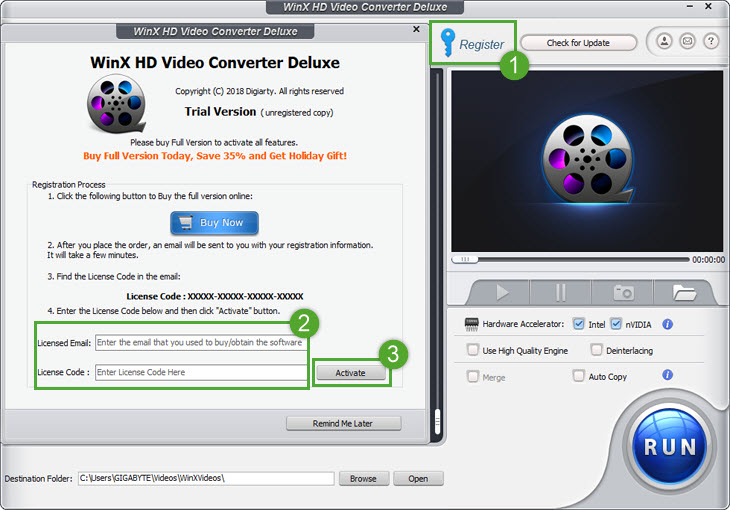
1 Open WinX HD Video Converter Deluxe, click "Register" button.
2 Input your "Licensed Email" and "License Code".
3 Click "Activate" to complete the registration process.
※ There are no spaces in the license code field. It's highly recommended to copy & paste your code to avoid any typos.
※ Please make sure you have proper Internet connection when registering WinX program.
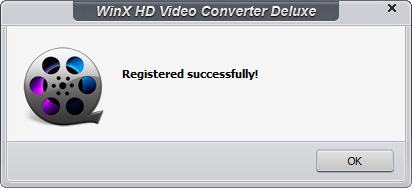
4 You will see a pop-up window confirming that you have registered successfully.
 2. Convert Video
After launching the software, you can easily convert video in 3 steps: Add Your Video > Select Output Format > Start the Conversion.
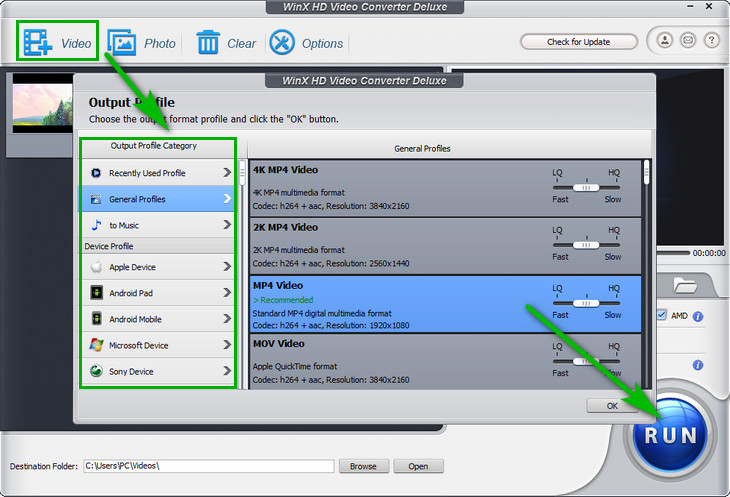
You can add your video files by clicking "+ Video", or simply drag & drop files to the program.
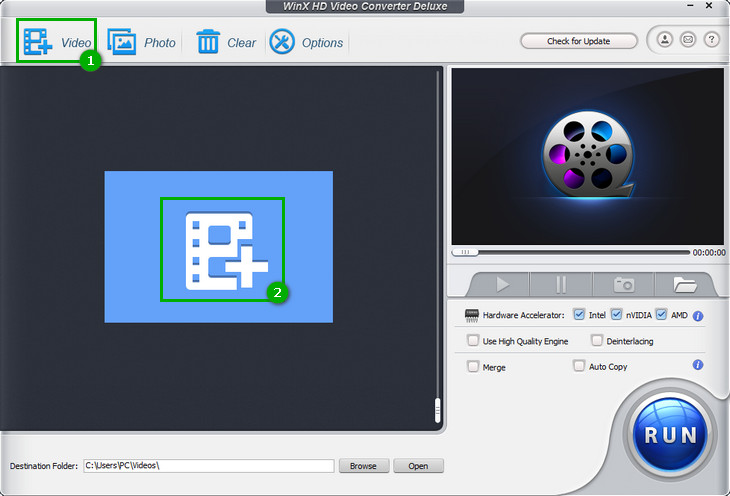
※ WinX can support batch conversion, you can import multiple videos to the program.
Once the files have been loaded, it will pop up an "Output Profile" window. You can choose a format or device from the list of preset profiles.
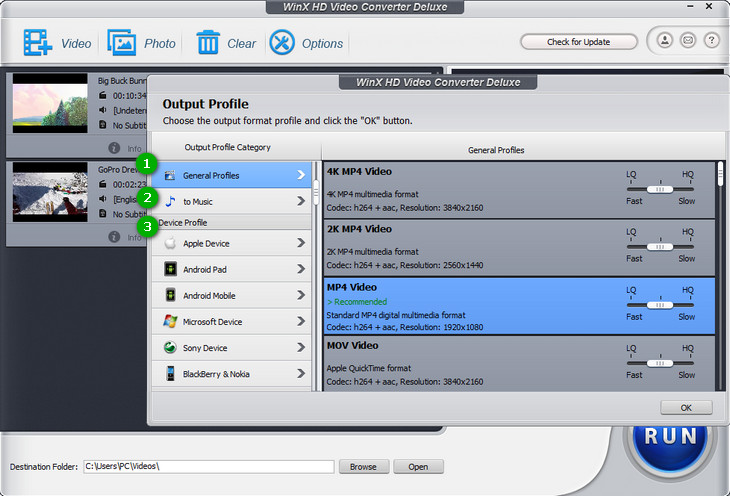
1 "General Profiles"
You'll find output formats that are commonly used here.
2 "to Music"
If you want to extract audio from video, you can directly choose audio format here.
3 "Device Profile"
Change your video format for playback on a number of popular devices, including iPhone, iPad, Android, tables, smart TVs, game console, iTunes, Final Cut Pro, etc.
Scroll down the window to find more profiles:
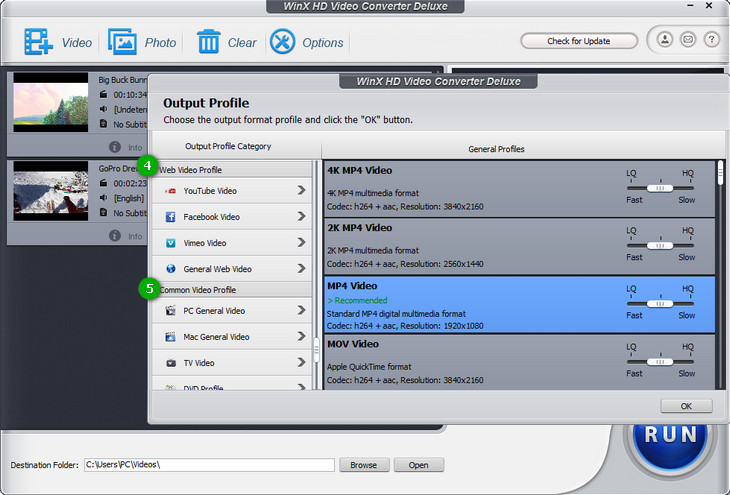
4 "Web Video Profile"
Transcode video to MP4, MPEG4 or FLV for YouTube, Facebook and other social networks.
5 "Common Video Profile"
Convert any video to PC/Mac, NTSC/PAL DVD format, HD and more.
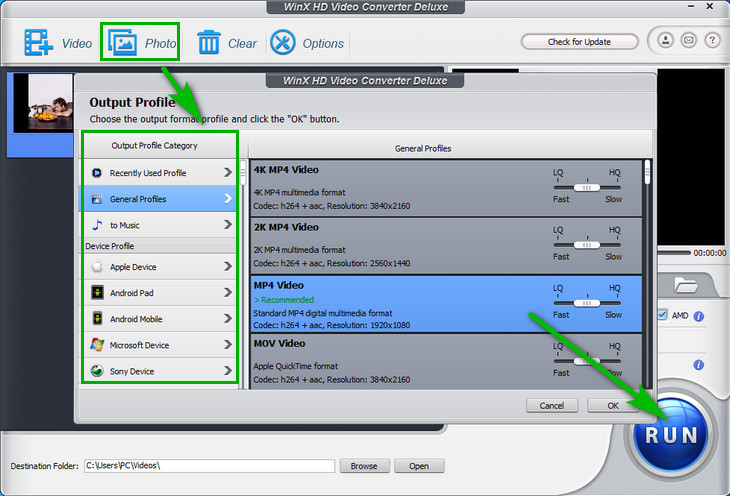
Select your desired preset profile with original resolution, and click "OK".
※ This video converter enables you upscale 2K/1080P footage to 4K and downscale 4k UHD to lower resolution at fast speed.
(Optional) Press "Browse" and change the location where you want to save converted video.

After that, hit "RUN" in the lower-right corner to start the conversion.

※ Other useful tips:
1 Enable "Intel" or "nVIDIA" accordingly to improve the video converting speed.
2 Turn on "Use High Quality Engine"for better image quality.
3 Set "Deinterlacing" if your source is an interleaving video.
4 Import all clips you want to put together, and click "Merge"to combine them into one.
5 Click "Auto Copy" if the output video codec files are the same with the input.
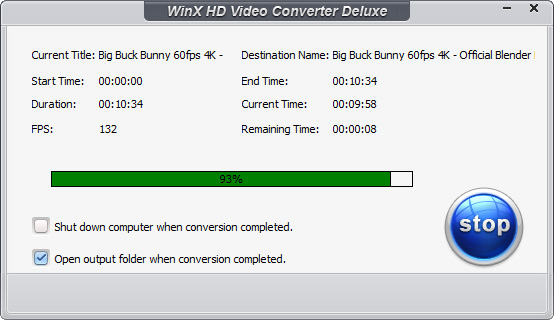
The converting process is shown below. You can click "Stop" to cancel it. Also, you can choose shut down computer and open output folder when conversion completed:
 3. Edit
Integrated with edit features, WinX HD Video Converter Deluxe lets you make your own creation in minutes. Click "Edit" button to pop up the edit window.

Just in 3 steps, you can increase volume:
Check "Adjust Audio Volume" -> Drag the bar to adjust volume -> "Done".
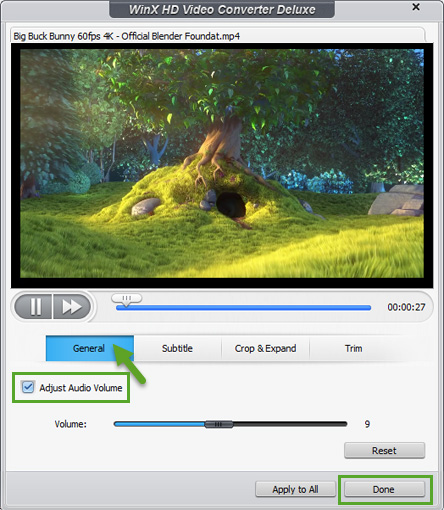
"Reset": restore to initial state.
"Apply to All": apply changes to all videos you added.
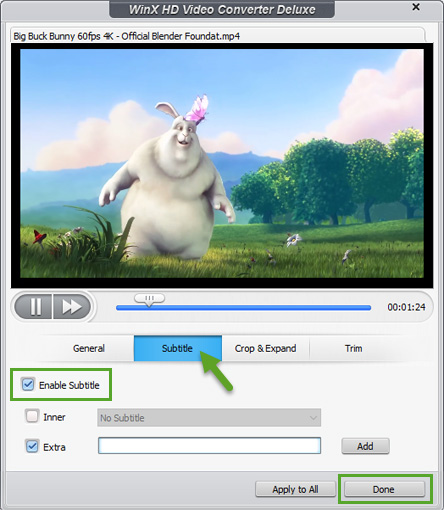
You can select the embedded subtitle track or add subtitle to your video:
1 Check "Enable Subtitle" -> Select the embedded subtitle -> "Done".
2 Check "Enable Subtitle" -> "Extra" -> Hit "Add" to import SRT subtitle file -> "Done".
Crop and expand your video to fulfill the screen or devices.
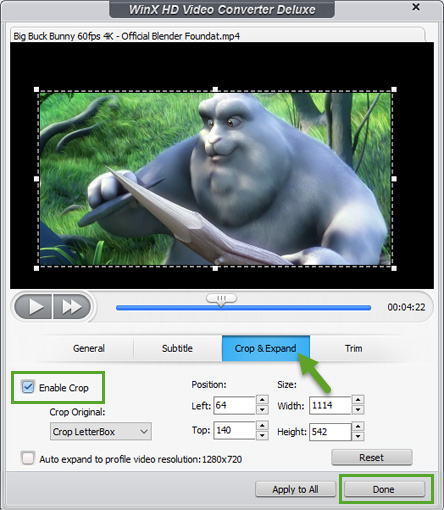
① Crop
Crop Original: it has 5 presets - Free, Crop letterBox, 16:9, 4:3 and 1:1.
Position: Set boundary from left and top with pixel.
Size: The resolution of video/image.
② Expand: Auto expand to profile video resolution to fulfill the playback screen.
Tap "Trim" button to cut video files to a smaller clip.
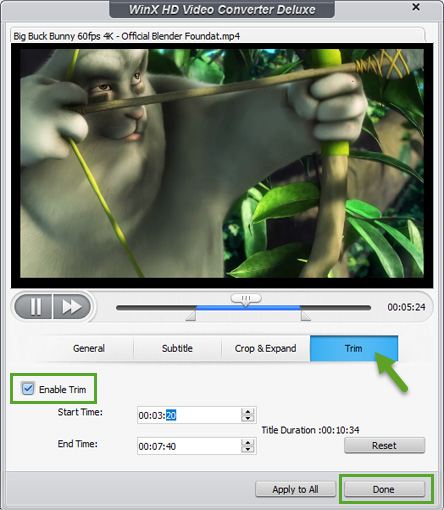
Check "Enable Trim" to set any time point of the footage as Start Time and End Time.
* Also, you can just drag the slider to select a segment you need.
 4. Make Photo Slideshow
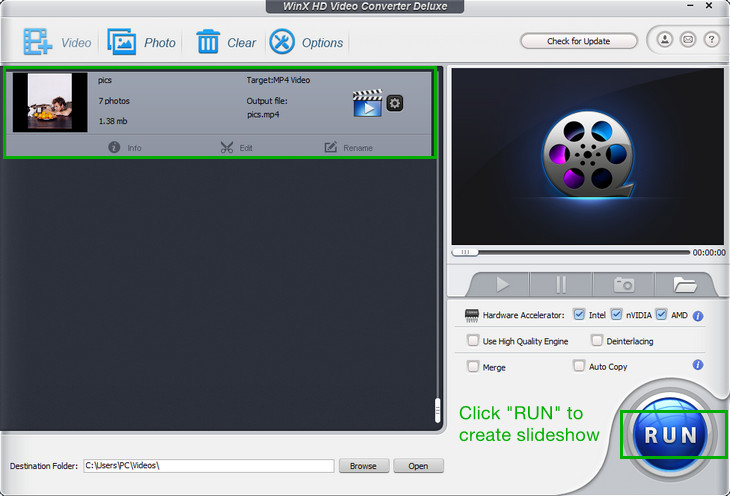
First of all, gather all of your photos in a folder in order. Then just click "Photo", choose a video format and hit "RUN".
Optional: You can also add music to your photo slideshow easily.
Launch WinX, tap "Photo" in the toolbar. Then choose a photo album folder and click "Select Folder" to import all pictures/photos you need.
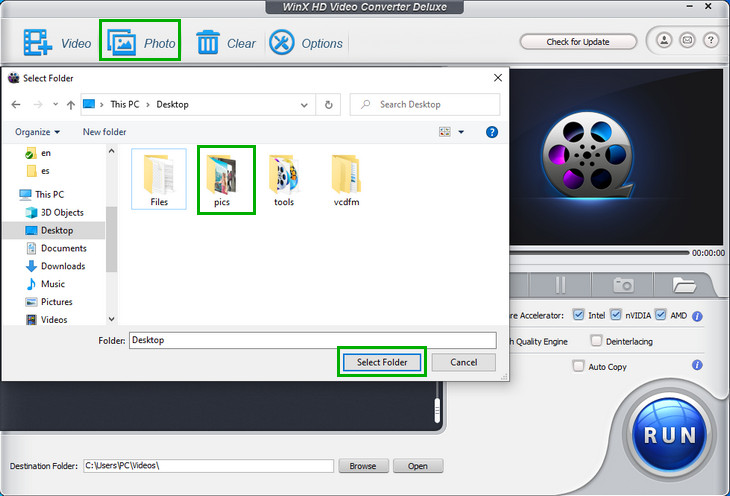
※ WinX fully supports JPG, JPEG, PNG and BMP image format.
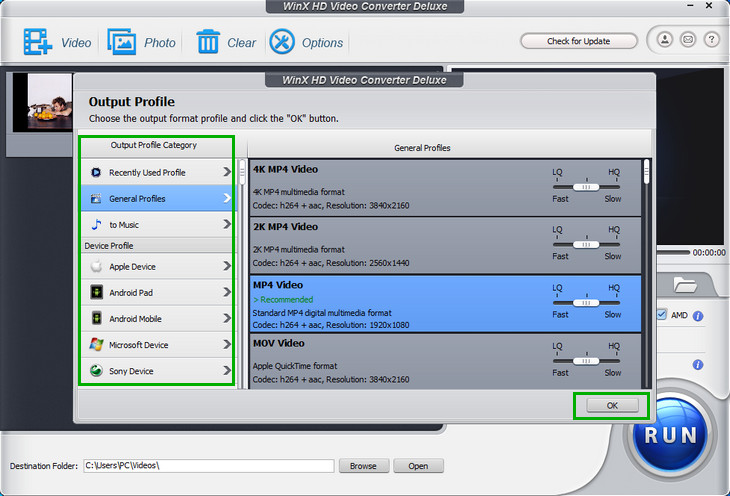
From the pop-up window, select your preferred format and click "OK" to go ahead.
Click "Edit" to customize the photo slideshow with background music and more.

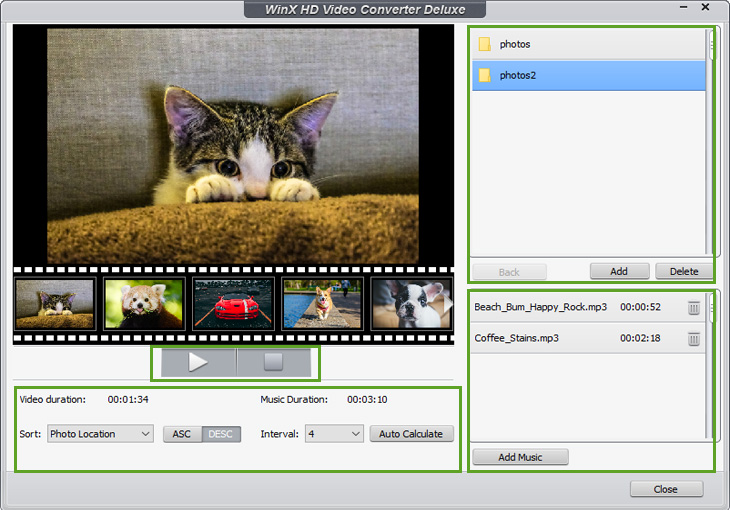
Here you can preview and add music to the photo slideshow:
1 Click  to play video; tap
  to stop.
2 In lower-left corner, you can sort the photos by "Photo Location", "Creation Date" and "File Name" in "ASC"(ascending) or "DESC"(descending) order.
Also, you can choose 2/4/6/8 seconds from "Interval" or tap "Auto Calculate" to alter the interval between two pictures to match the "Video Duration" with "Music Duration".
3 At the top-right corner of the window, click "Add" to import more photo file folders or tap "Delete" to remove one.
4 Click "Add Music" to import music file; tap to remove.
After adjusting your slideshow, click "Close" to proceed.
Just click "RUN" button to create the slideshow.
 5. Settings
Here you can learn general preferences of the program and advanced settings of output video.
Click to remove all sources you added in the program.

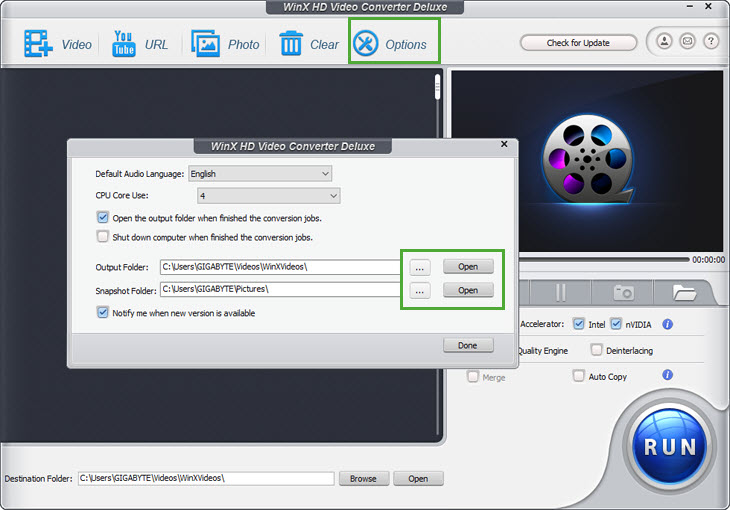
Click to customize default audio language, CPU Core Use, Output/Snapshot Folder and etc.
In the upper-right corner of user interface, you can find your license and product information.

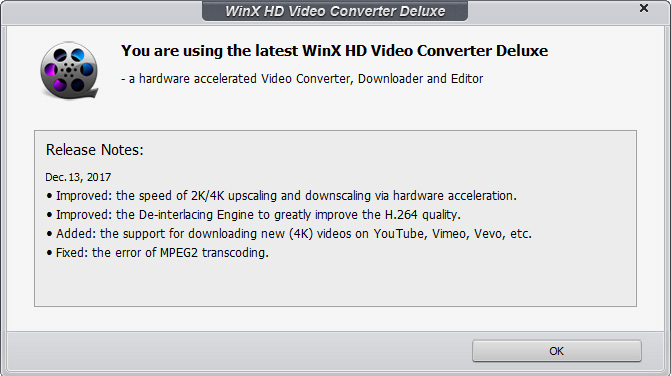
1  : Click to check the latest version information and upgrade.
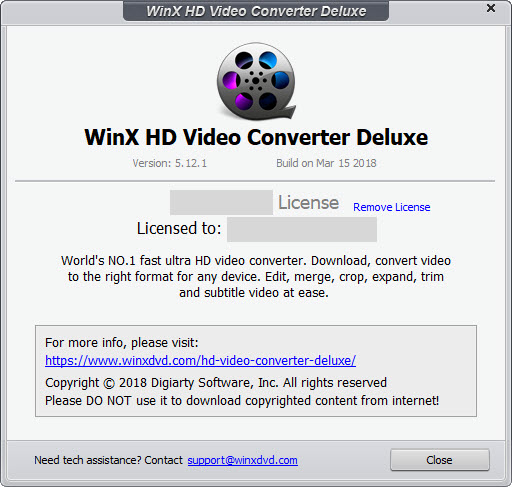
2  Click to check your license information, Version No., Built date, etc.
3  : Click it to contact us if you have any question or suggestion.
4  : Click to change the language of this program.
Learn how to adjust advanced output settings here.

1  : Click to adjust video and audio parameters.
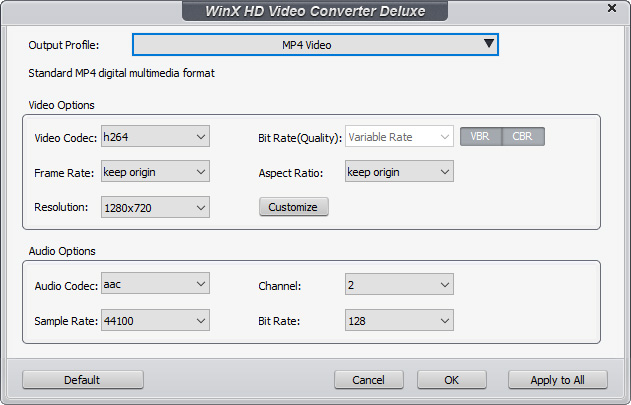
Here you can customize video audio codec, bitrate, frame rate, aspect ratio, resolution, audio codec, audio channel number, sample rate, bit rate, etc.
※ Click "Default" to restore to initial state.
2  : Click to change the output profile.
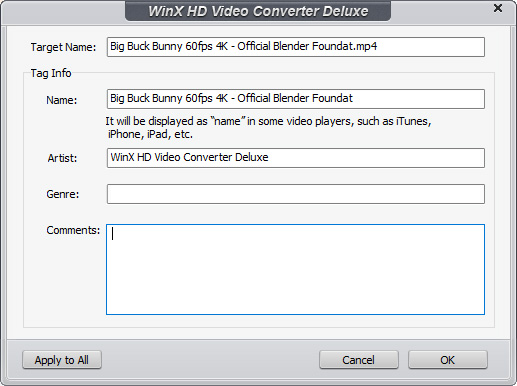
3  : Click to rename output file's name, artist, genre and etc.
4  : Click to open the edit window.
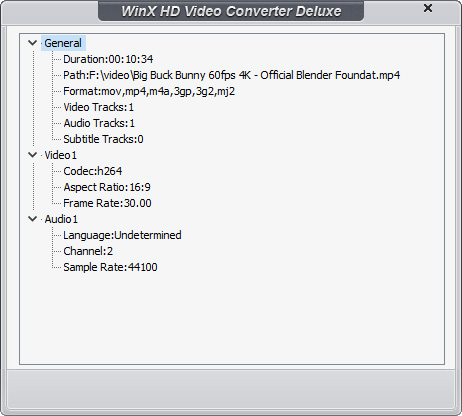
5  : Click to check your video information.
Here you can preview your video and take snapshots easily.
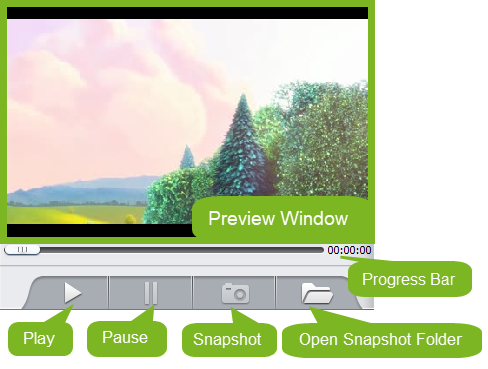
Click the snapshot icon to take a screenshot and store as PNG.
Aiming to be the leading digital media company, Digiarty Software, Inc. is dedicated to providing professional and innovative multimedia software for all Windows and Mac users.

For enquiries about order, registration, upgrade, technical problems etc, please email us >>

To develop business relationship with us, please contact our PR representative, email us >>


 1. Get Started
 2. Convert
 3. Edit
 4. Slideshow
 5. Settings